


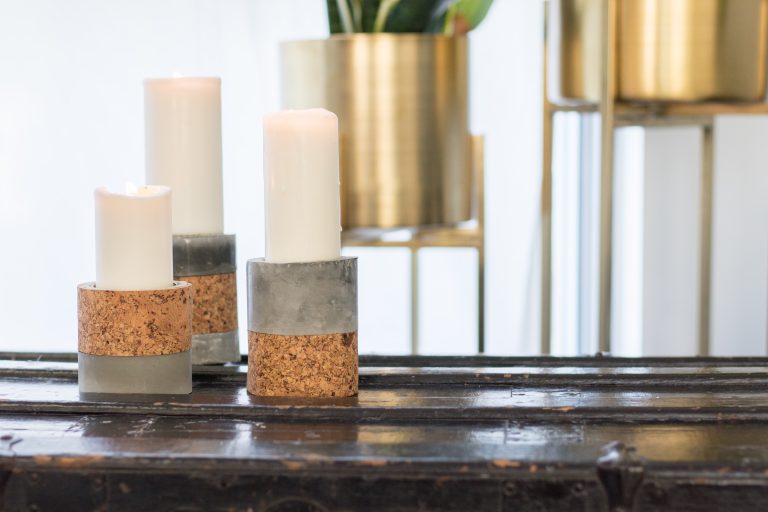
Summer nights in the garden, romantic dinners, celebratory family gatherings — now, imagine all these with a set of chic, sophisticated and modern cement candleholders! I love working with cement; it’s easy to mix and super affordable, it’s rough yet slick and always beautiful.
Because concrete carries cold and industrial connotations, I often try to combine it with other materials to insert some warmth and interest. In these candleholders I’ve added cork, another material I absolutely adore. Cork is natural, textured, soft and can be found in different fascinating patterns. In this tutorial I’ll show you a little trick to make a very fancy flush look, so the concrete and the cork seem like they’ve been molded together.
Our editors & writers only recommend products that we think are awesome and you’ll love. We do occasionally use affiliate links, which means that we may make a small commission at no additional cost to you.
What you’ll need to make these cement candleholders:
- Empty soft drink bottle
- 2 millimeter craft foam
- Cork sheet
- Can lid
- Silicone glue or silicone sealer
- Cement
- Disposable bowl
- Disposable mixing stick
- Disposable plate
- Permanent marker
- Cutting mat
- Ruler
- Sharp craft knife

Step 1
Prep the bottle. It’s best to choose a bottle that is smooth and without texture. Clean the bottle and empty it.
MORE: Create DIY cookie stamps for personalized, edible gifts
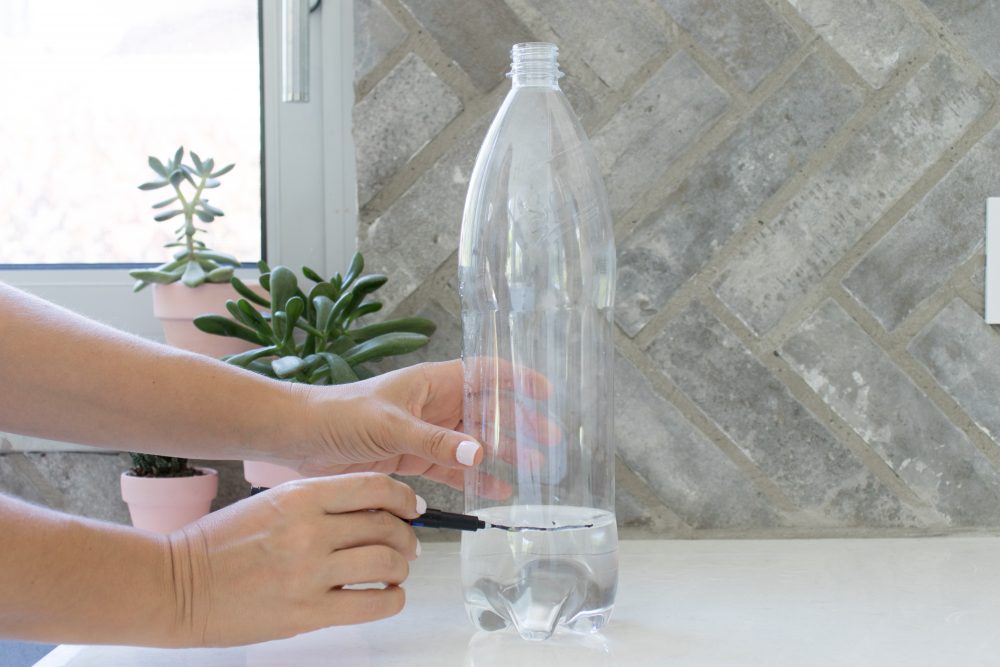
Step 2
Now make a mold. Mark the cutting lines on the bottle. To make sure your lines are leveled, fill the bottle with water and use the water line as a guide. You can decide whatever height you like. Dry the mold with a towel.
Step 3
Place the craft foam on the cutting mat and cut a 2-inch-wide strip, using a craft knife and a ruler.
It’s important that the foam be as thick as the cork. So if your foam is thinner than the cork sheet, cut two strips and glue them together with some contact cement.

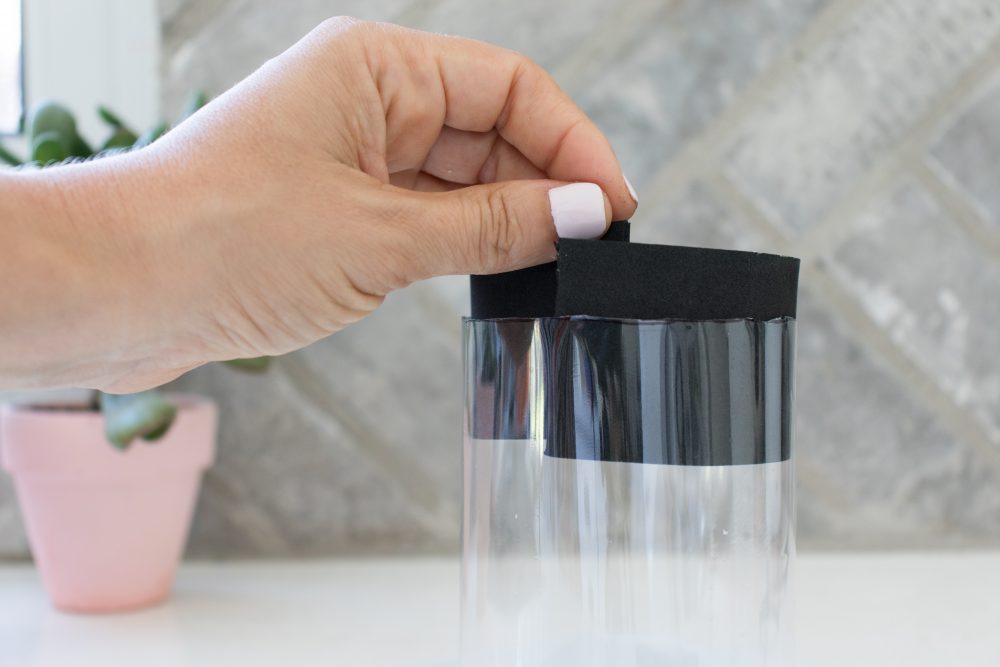
Step 4
Roll the strip and insert it into the mold for measuring. Remove as much foam as needed so the strip will snuggle tightly inside without overlapping.
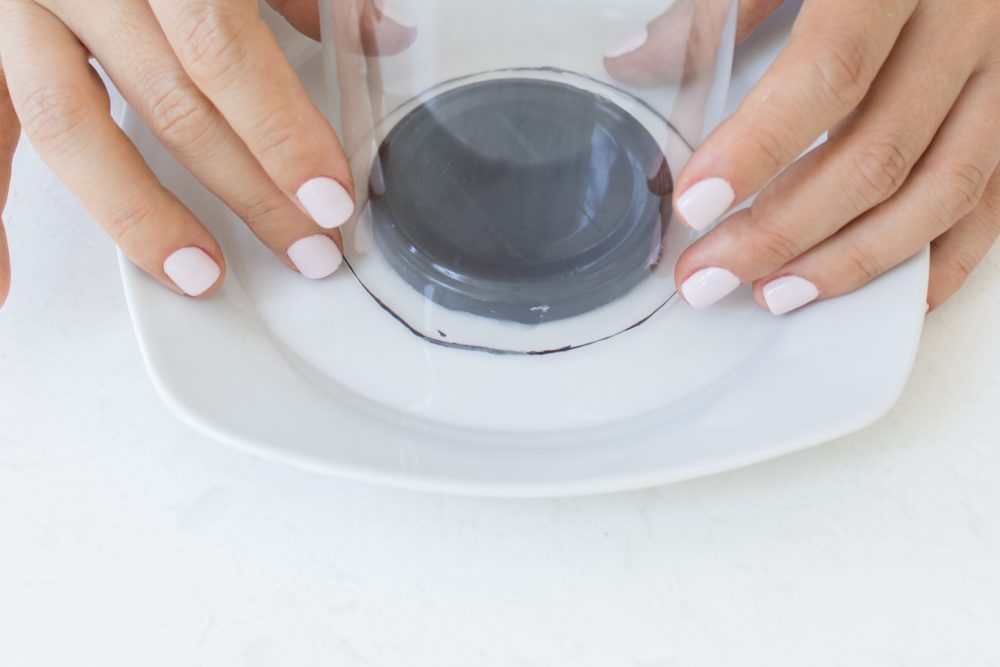
Step 5
Take the lid and glue it on the centre of the plate. If you’d like to release the lid and not leave it in, you can spread a thin layer of Vaseline on top and all around the lid.

Step 6
Place the mold on the plate so the lid is in the centre.
Step 7
Pour silicone around the edge of the mold. Use a lot of silicone to make sure the mold is well glued and perfectly sealed. Let fully cure.

Step 8
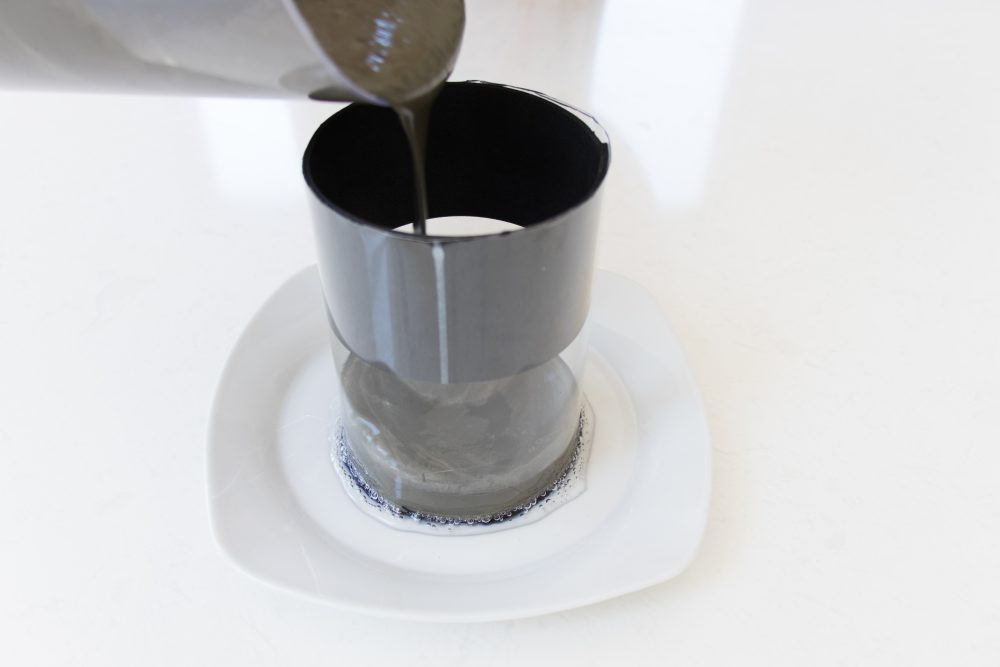
Add cement to the mixing bowl. You need as much as two-thirds of the mold’s volume. Add water slowly, until the mixture is liquid yet thick, like pancake batter. Pour the cement mix into the mold. Set aside to dry for at least 48 hours. You can add some weight to it for the first few hours, like a plate or a book, to prevent any leaks.
Step 9
Cut the mold and carefully release the candleholder. Peel the foam from the cement. The cement is still moist and quite soft, so make sure not to scratch or break it. It’s best to let it fully dry for another day or two.
MORE: DIY star-shaped lanterns make the best backyard decor
Step 10
Cut a 2-inch strip from the cork sheet. Measure the cork strip and cut it to fit the space where the foam has been. Glue the cork in place.

Step 11
Finish the cement candleholder by sanding the base flat with sanding paper, if needed, and then enjoy the beautiful, chic, handmade gorgeousness.