These adorable DIY fabric-covered flowerpots, inspired by Homemade Interest, make a truly thoughtful gift for Mother’s Day or a birthday — or, really, for anyone on any occasion. After all, while a gift of flowers always puts a smile on the lucky recipient’s face, she’ll get to enjoy them only for a week or so before they begin looking droopy and she’ll have to toss them. Instead, give someone special a gift that will keep on giving! They’re easy to make, and affordable, too.
She’ll be able to grow her favorite flowers, herbs or other plants in this flowerpot all year around. It makes for a spot of cheer on the deck, a cute container for a kitchen herb garden, or a one-of-a-kind way to tuck some green into a bare corner of the house. (No green thumb? Fill the pots with some artificial greenery or flowers instead.)
You can find terracotta pots at any garden or craft store at very reasonable prices and in a variety of sizes. Some advice from experience: Buy more than one pot, because you’re going to love the finished product so much that you’ll want to make it again and again.
While you’re stocking up on your supplies, be sure to grab some Mod Podge, a foam brush, sequined trim or ribbon, and a few small rocks. Of course, you’ll need a plant and potting soil, too — unless you’re going the artificial route, in which case you’ll need a small bouquet or bunch of greenery, and a styrofoam block or floral foam that will fit into your pot (both of which you can easily trim to fit).
If you are a regular crafter, you might have leftover fabric pieces put away for just this type of project. These scraps are exactly what you need to plan your design. If you don’t have any on hand, visit a fabric store and check out the scraps and swatches. Be creative: Mix and match colors, patterns, even fabrics. Stripes and solids, polka dots, zigzag — the choices are limited only by your sense of style and fun!
>> Click here to jump straight to the craft instructions
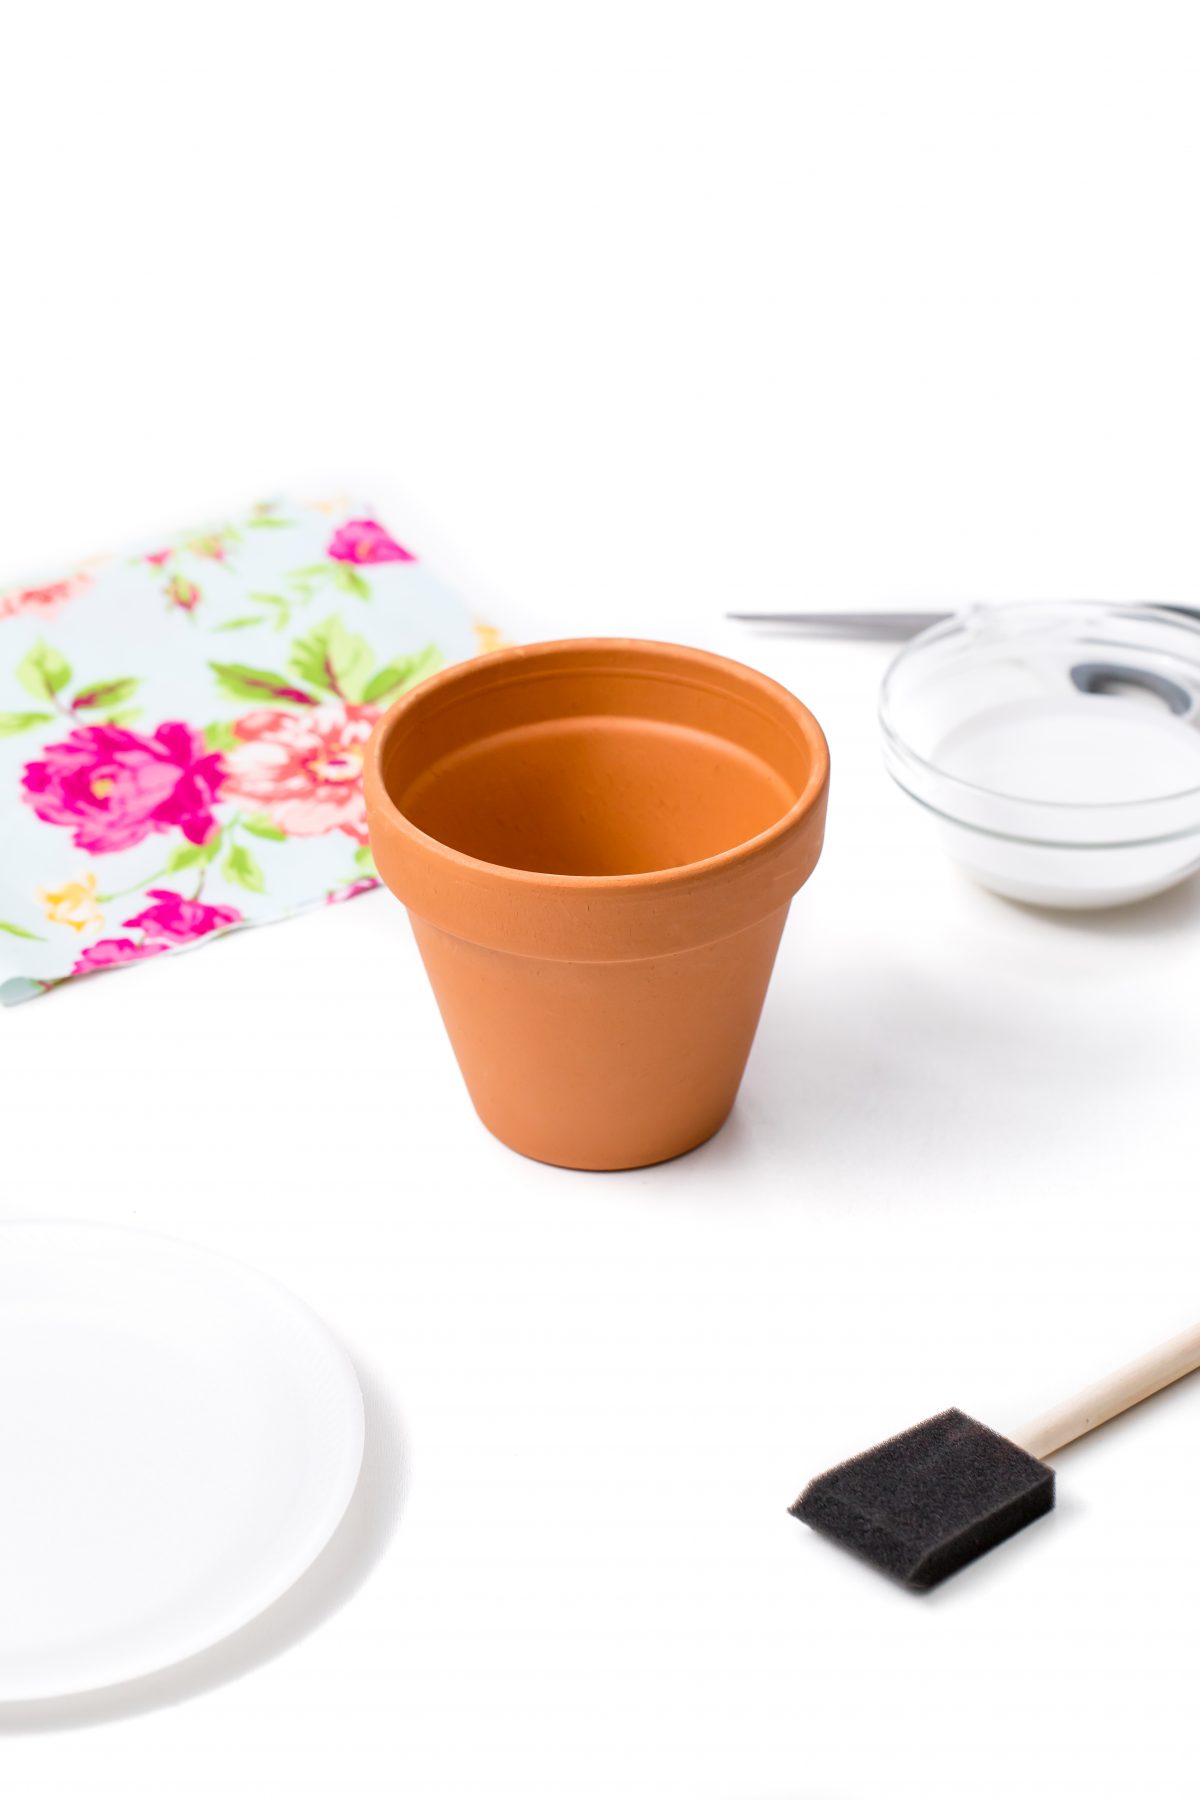
Take a look at the supplies you will need for this craft project
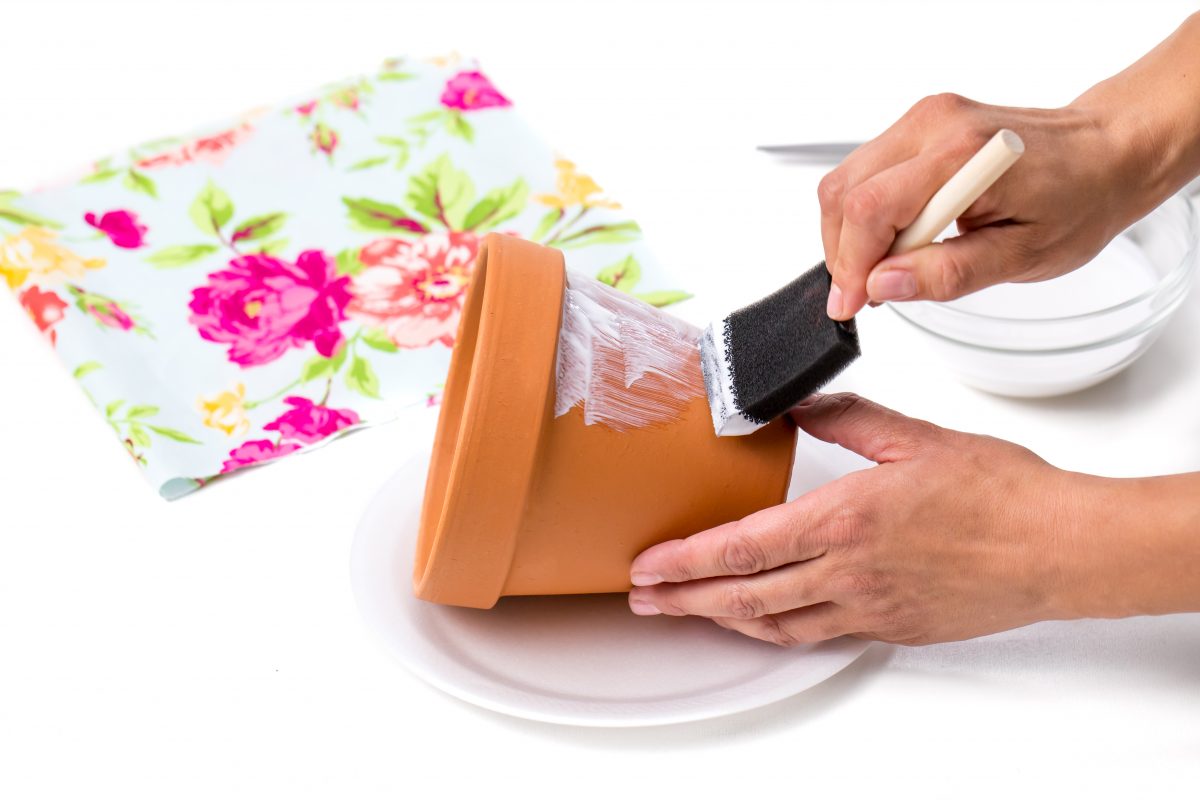
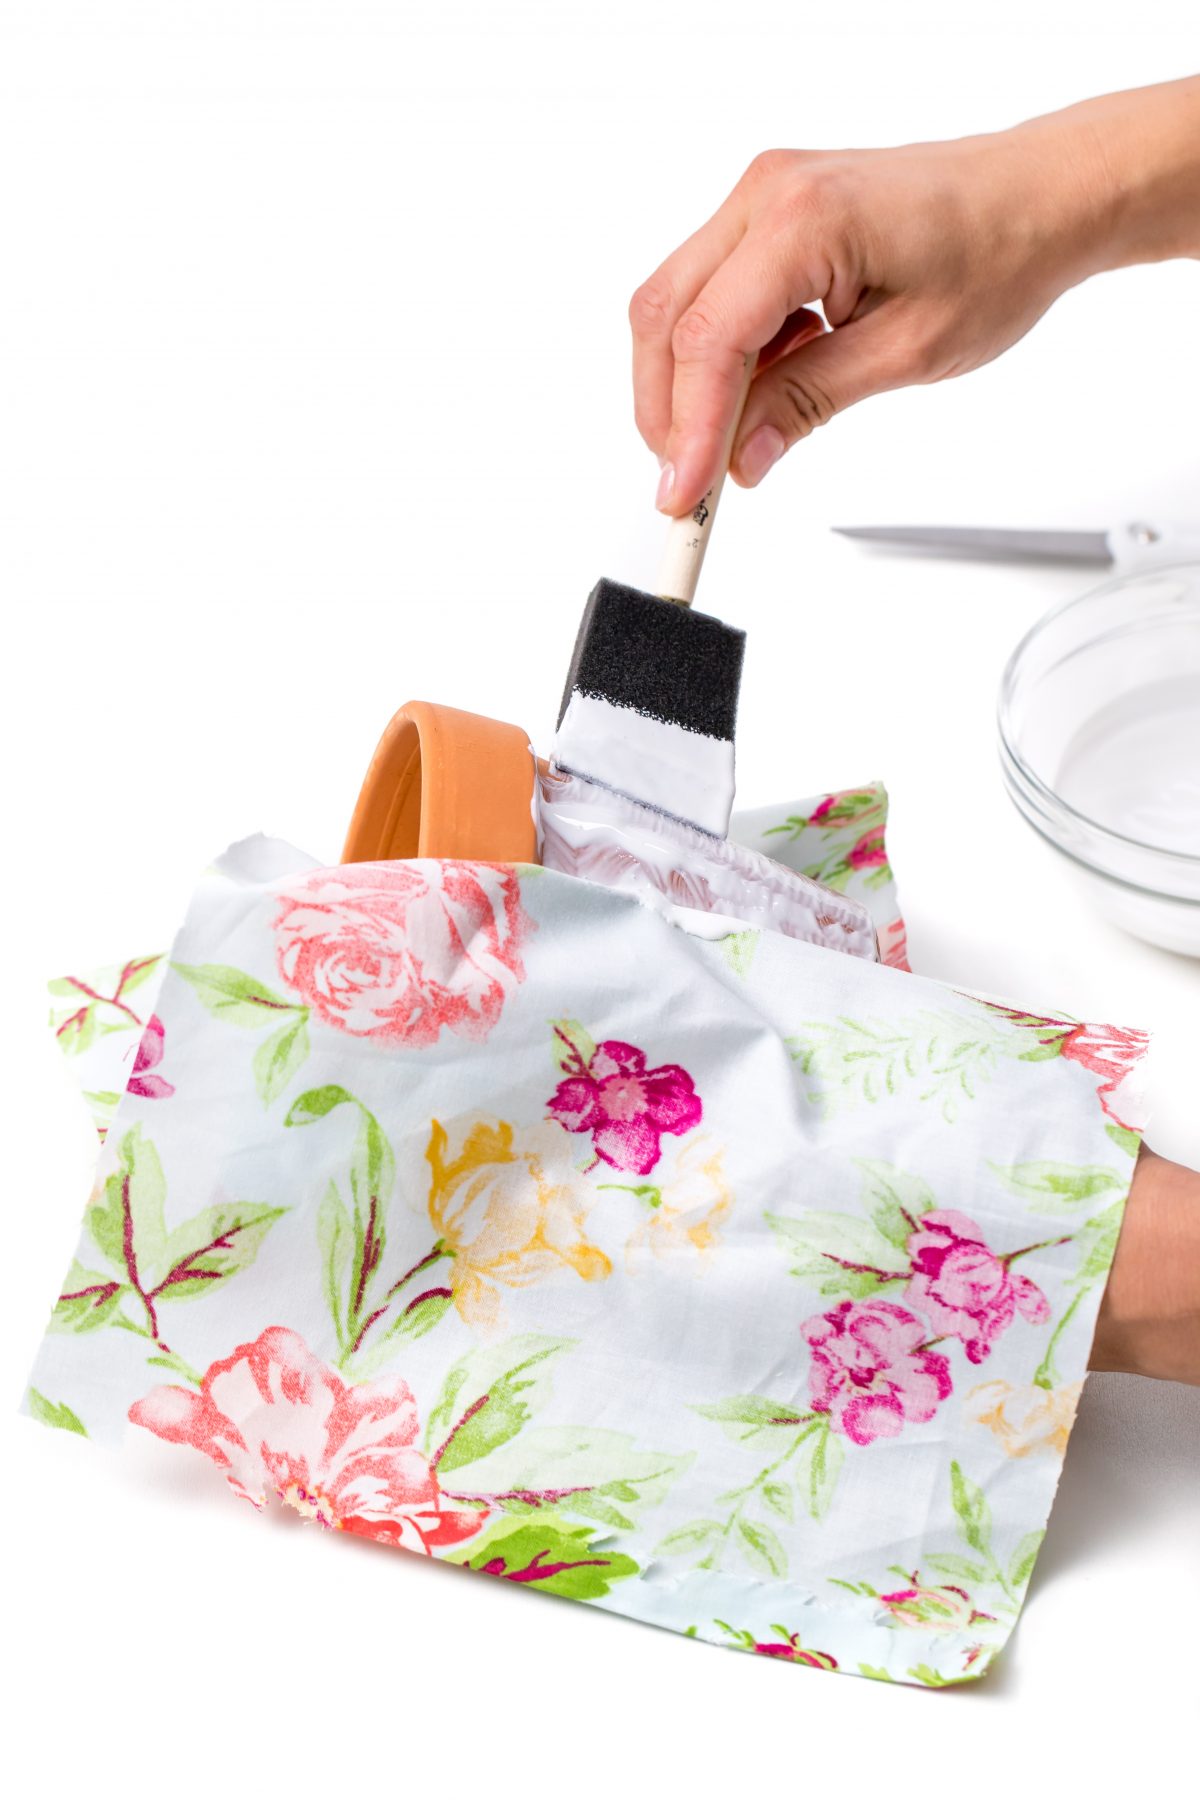
Putting Mod Podge on the pot to prepare the surface
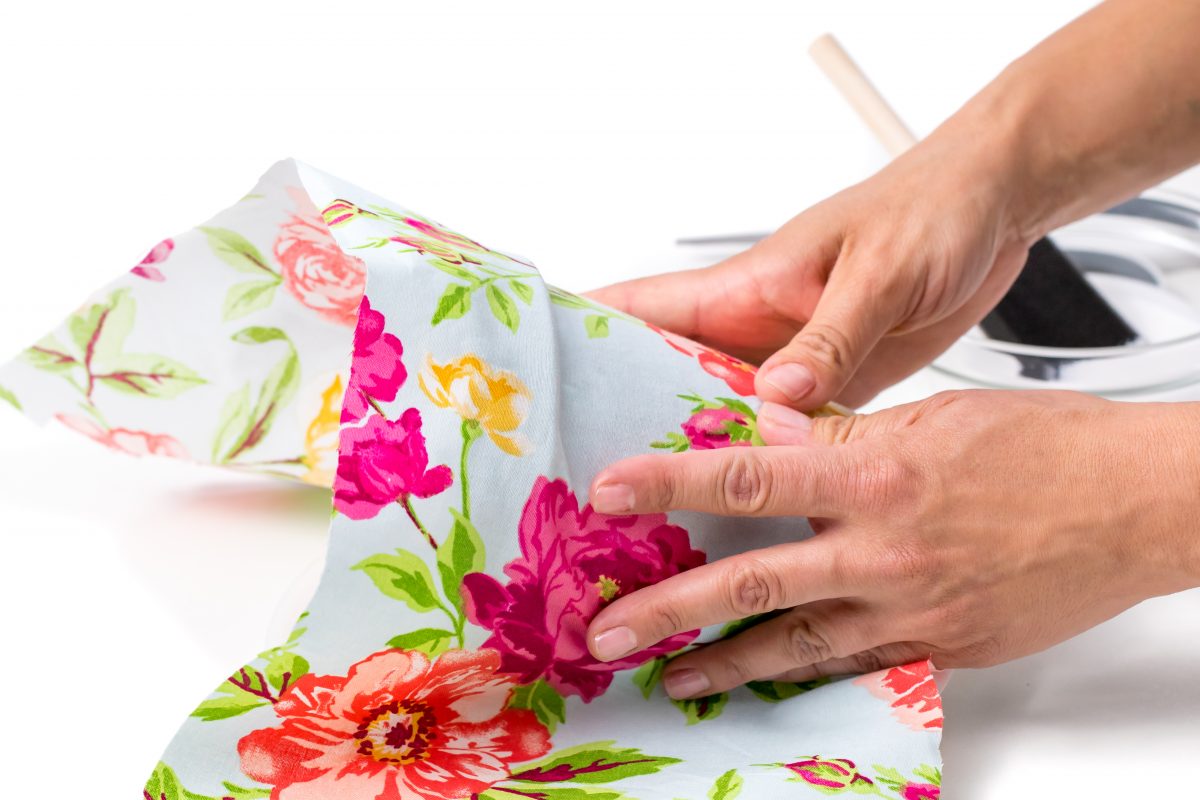
Begin to place the fabric on the pot
Add a second layer of Mod Podge
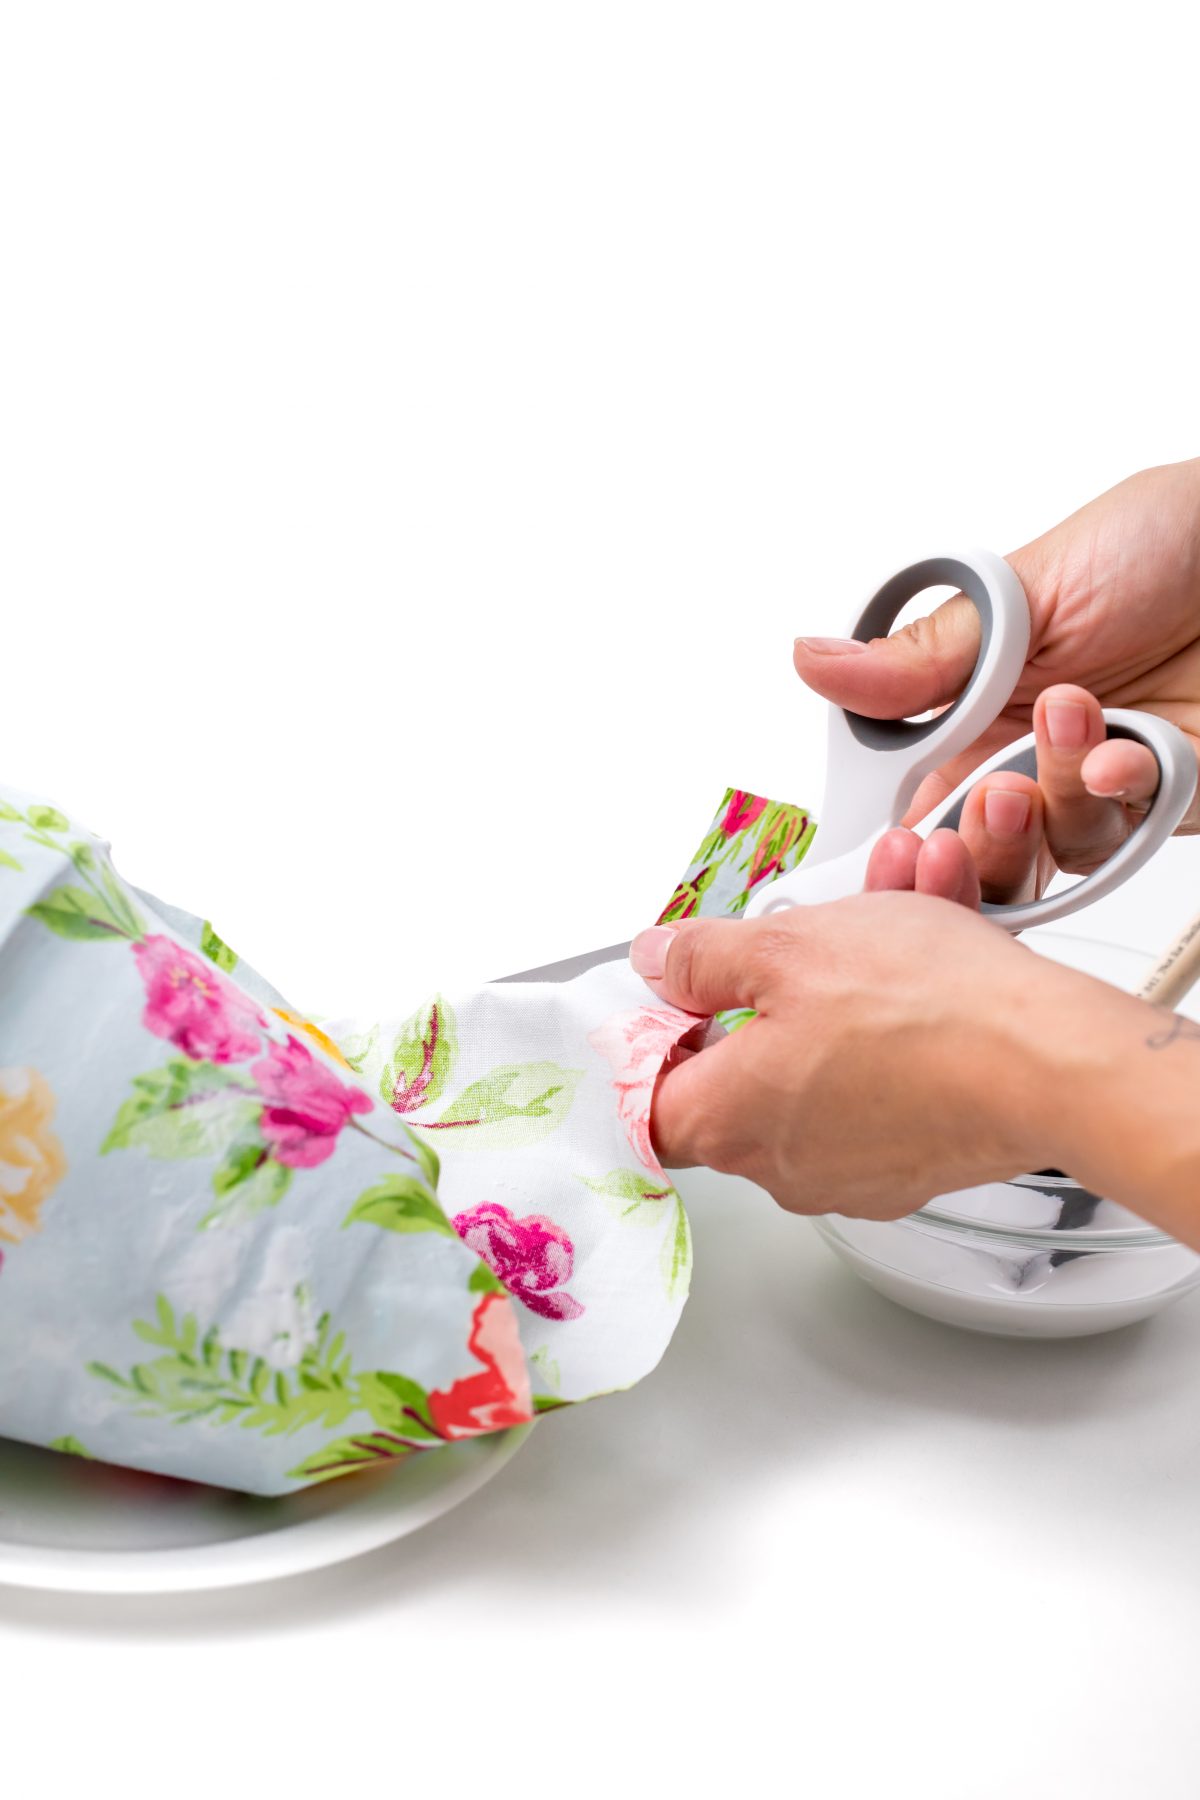
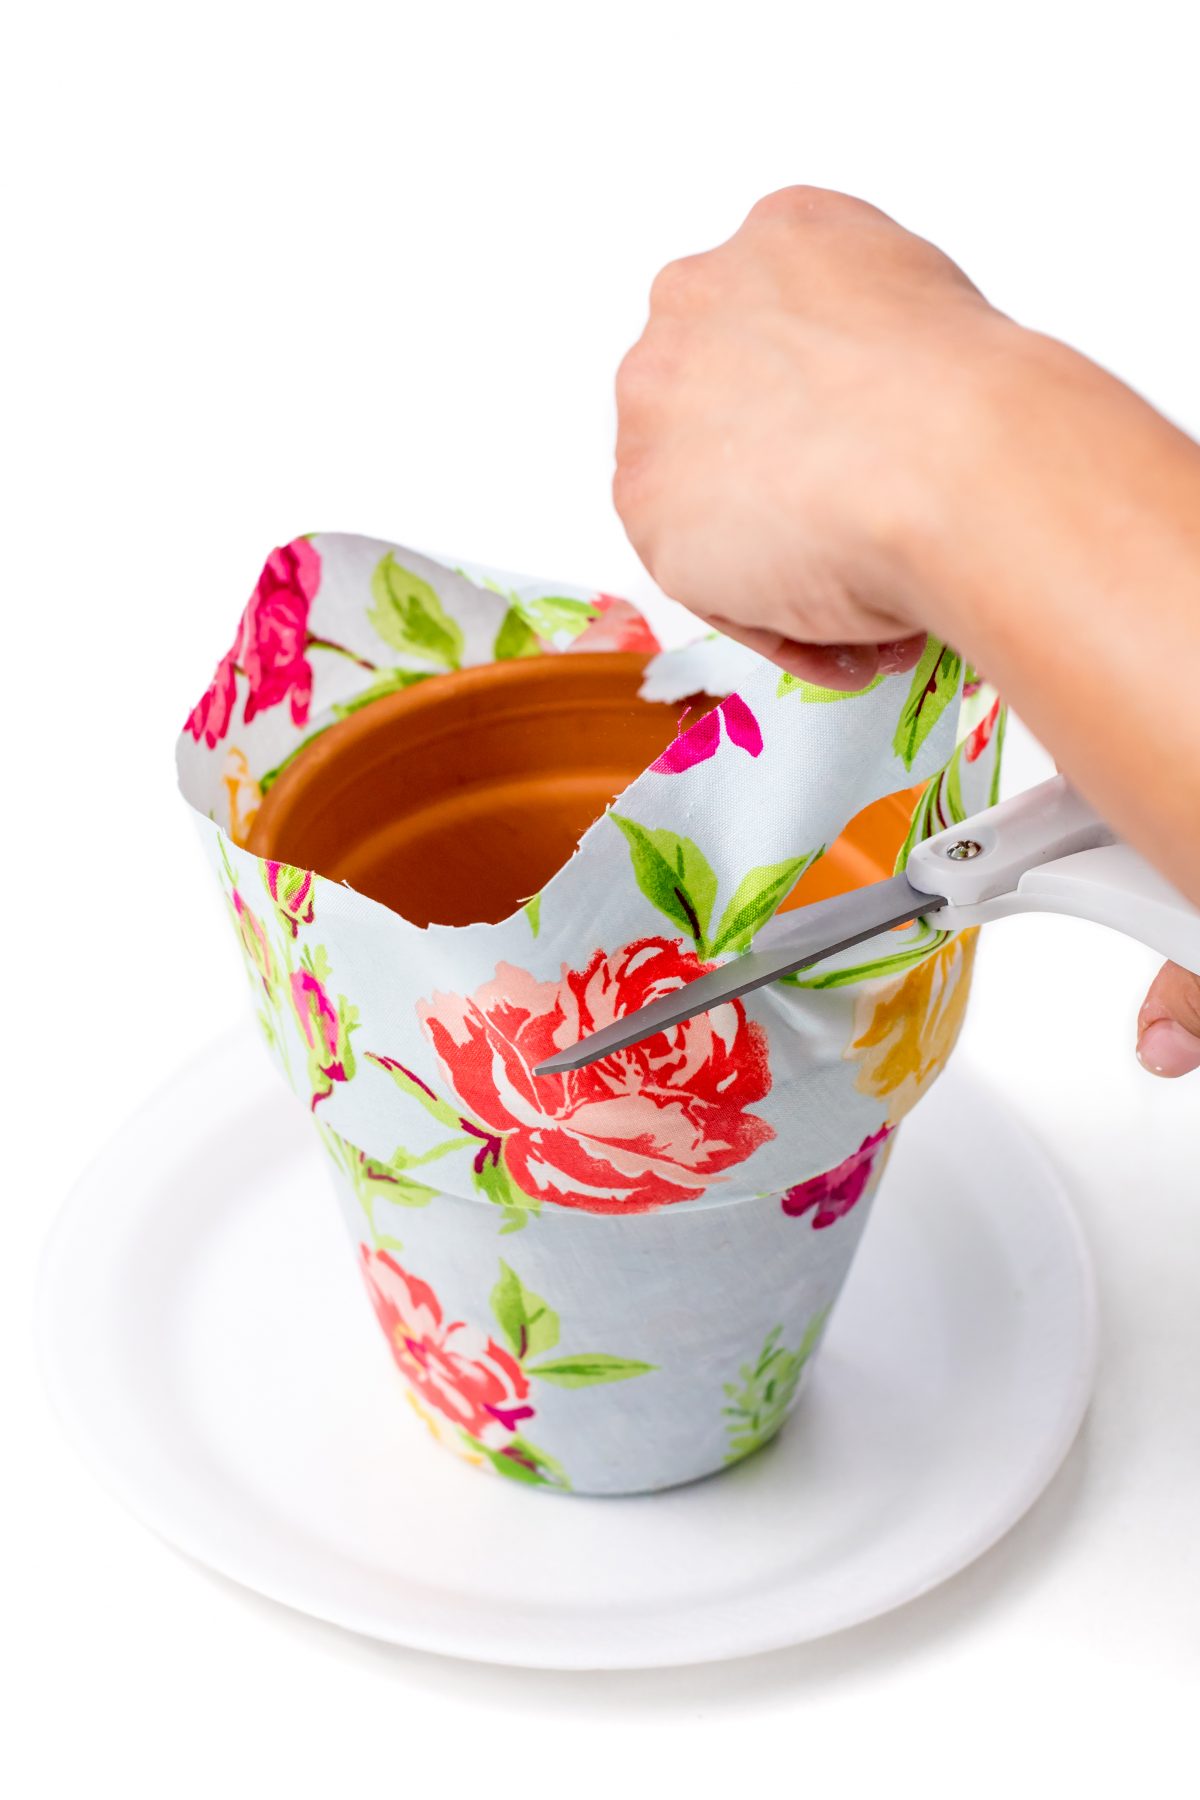
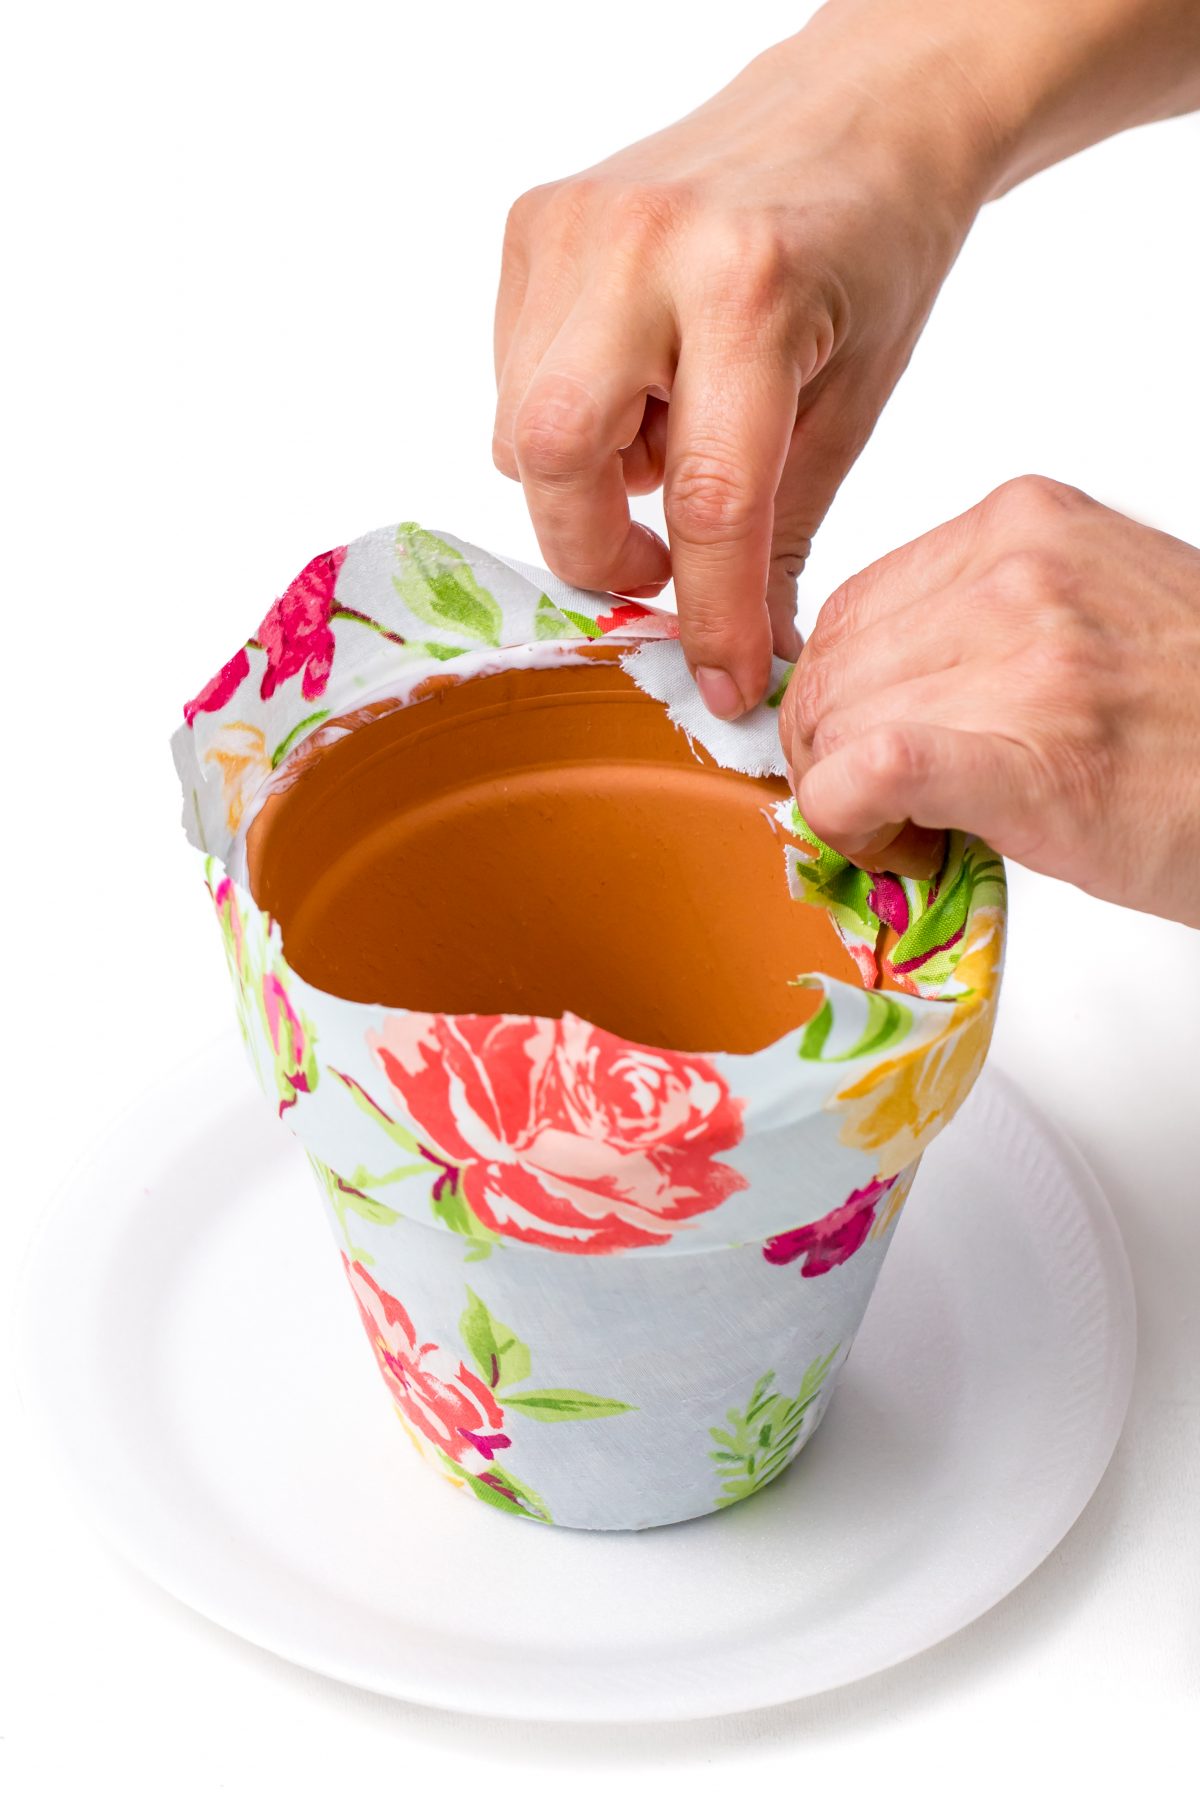
Cut off the excess fabric to make a nice fit
Finish applying the fabric all the way around
Spread some podge on the bottom to help secure the fabric
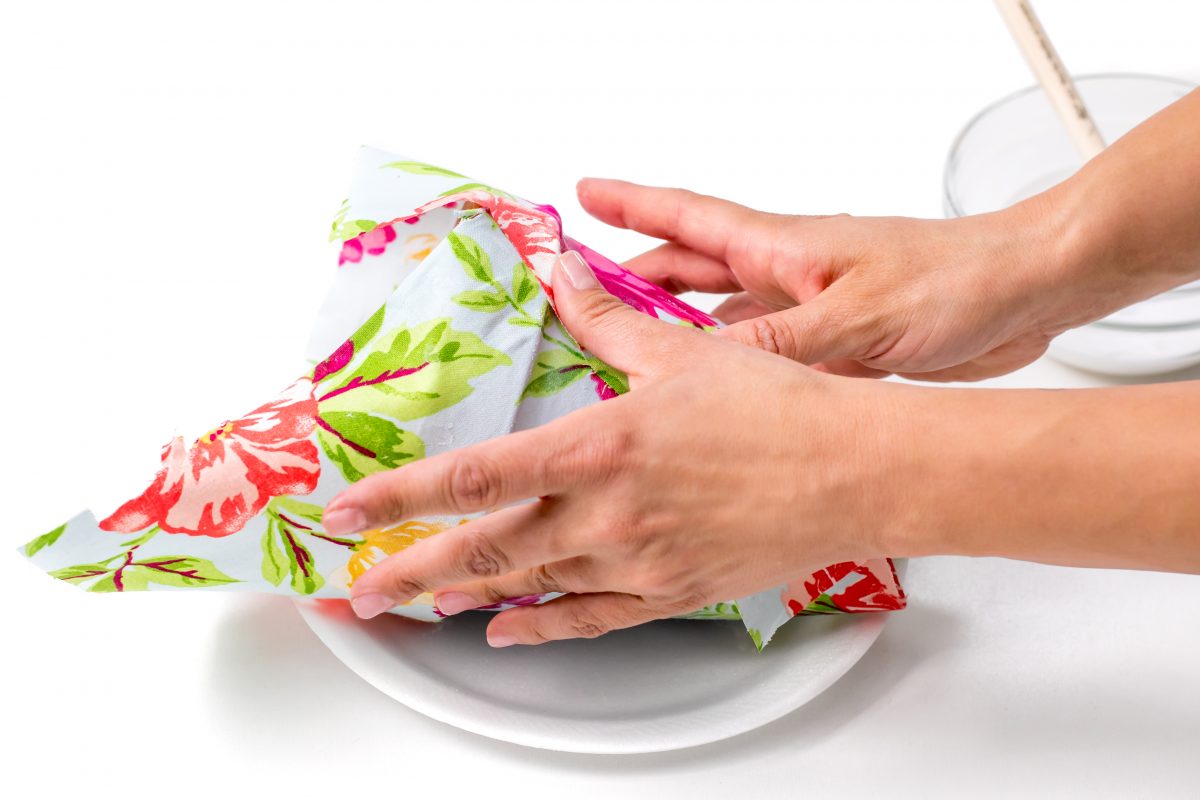
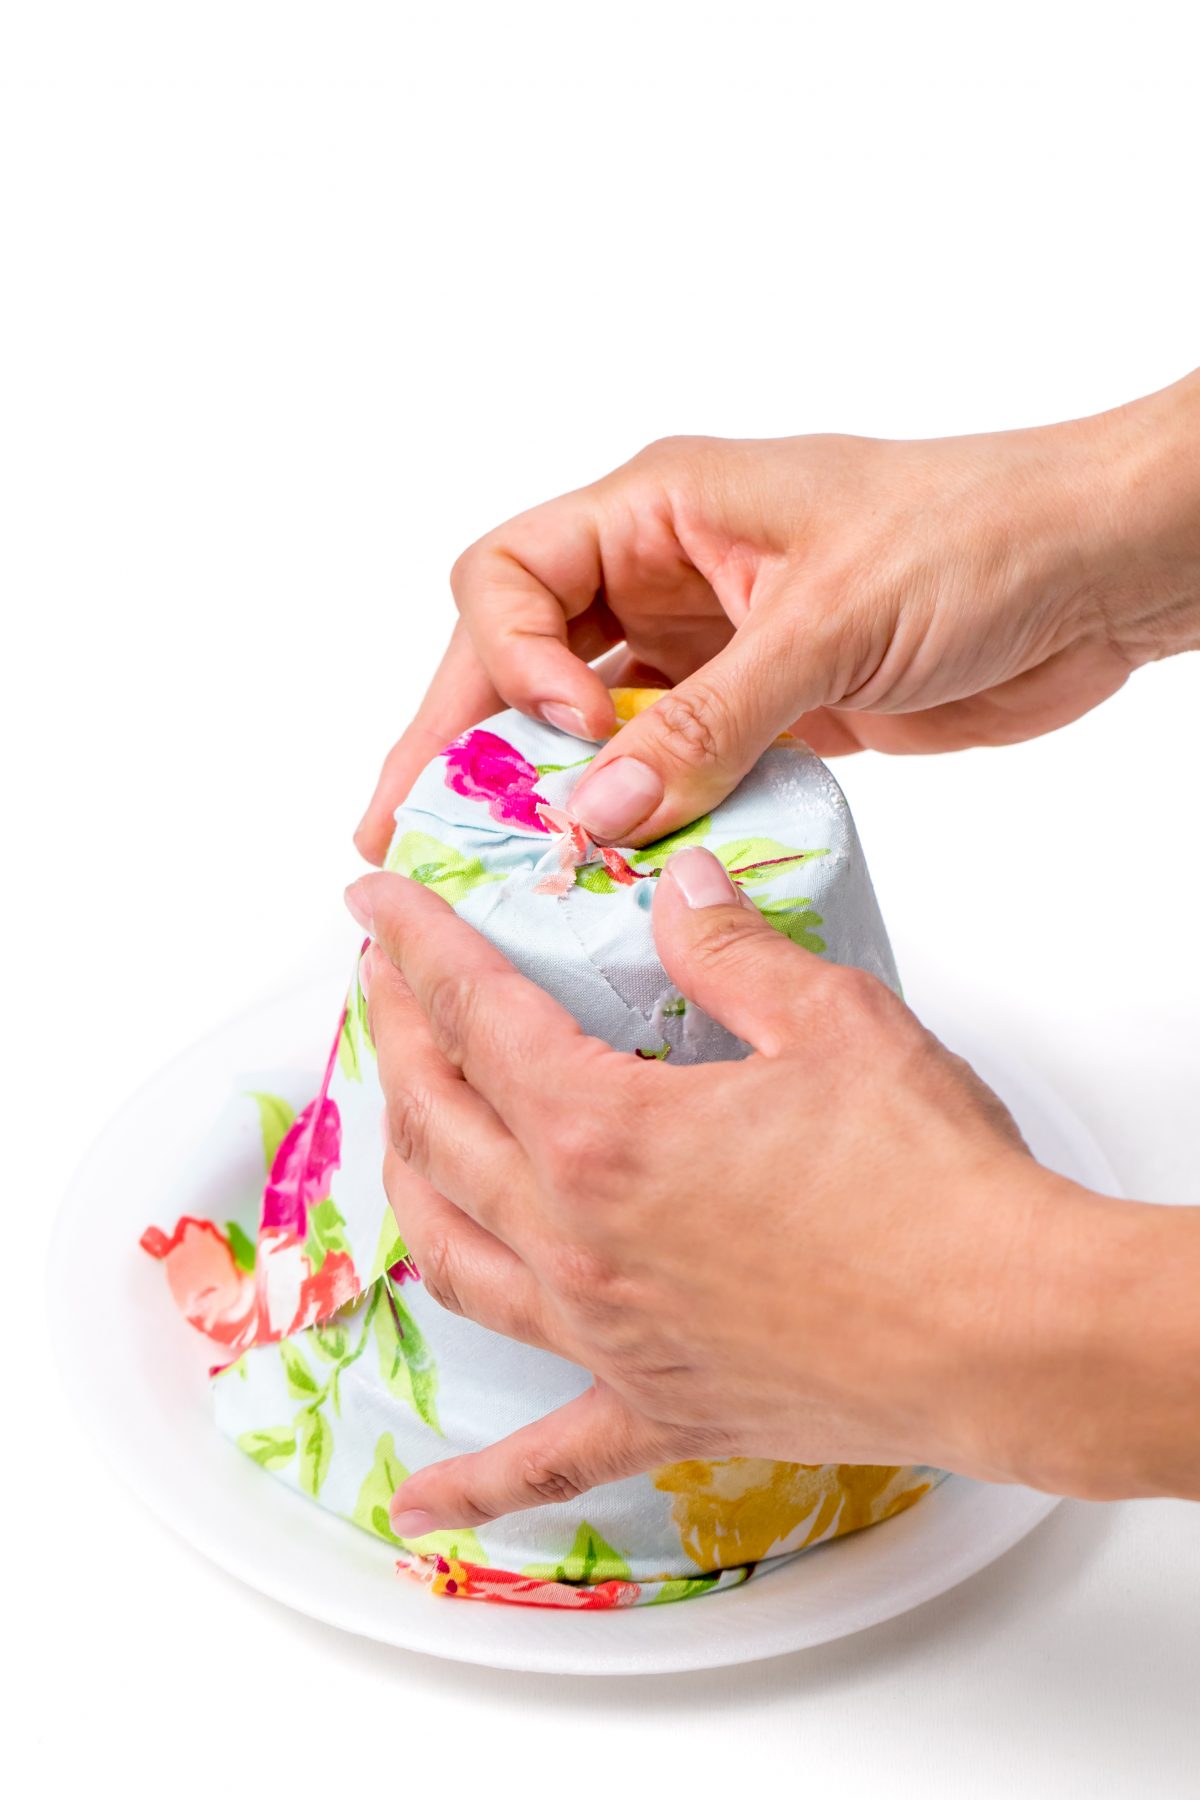
Press firmly to make sure the fabric stays put on the bottom of the pot
Trim off any extra fabric
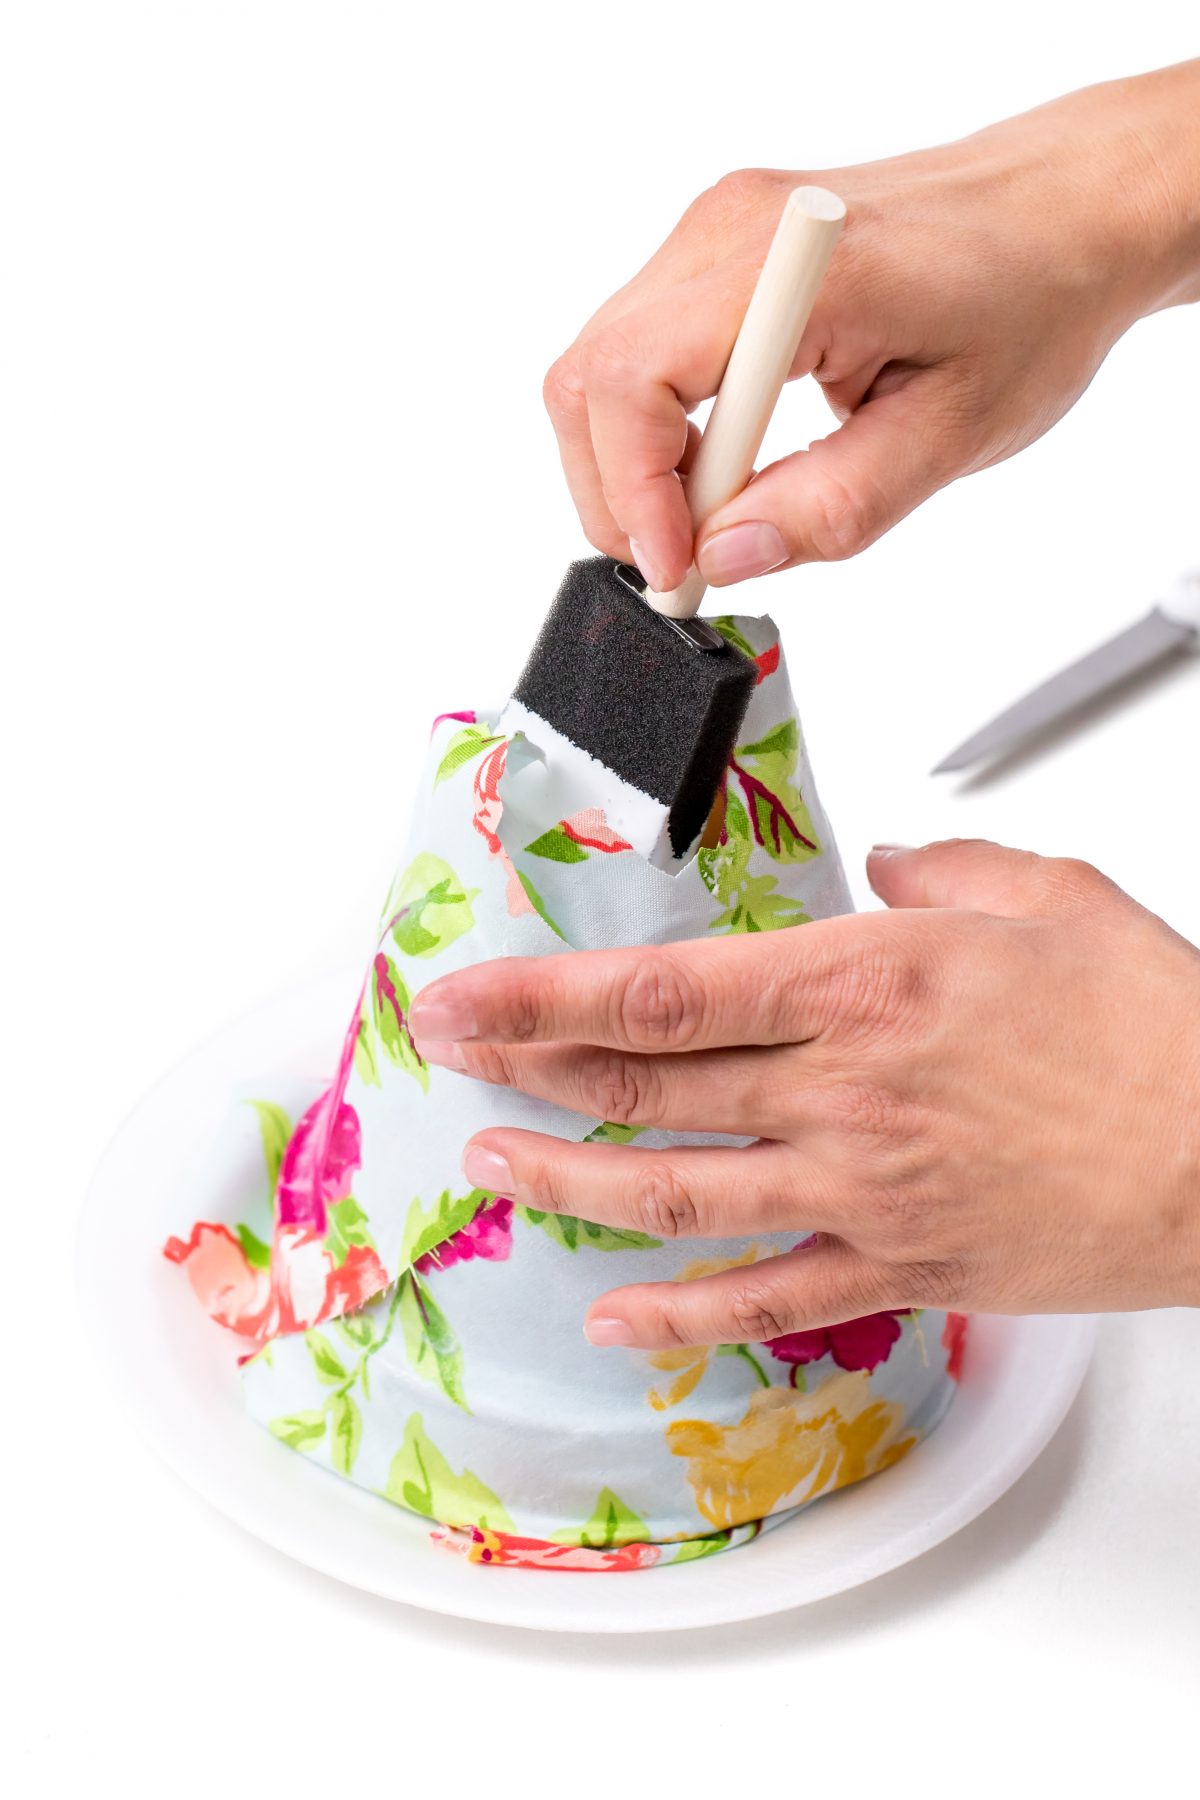
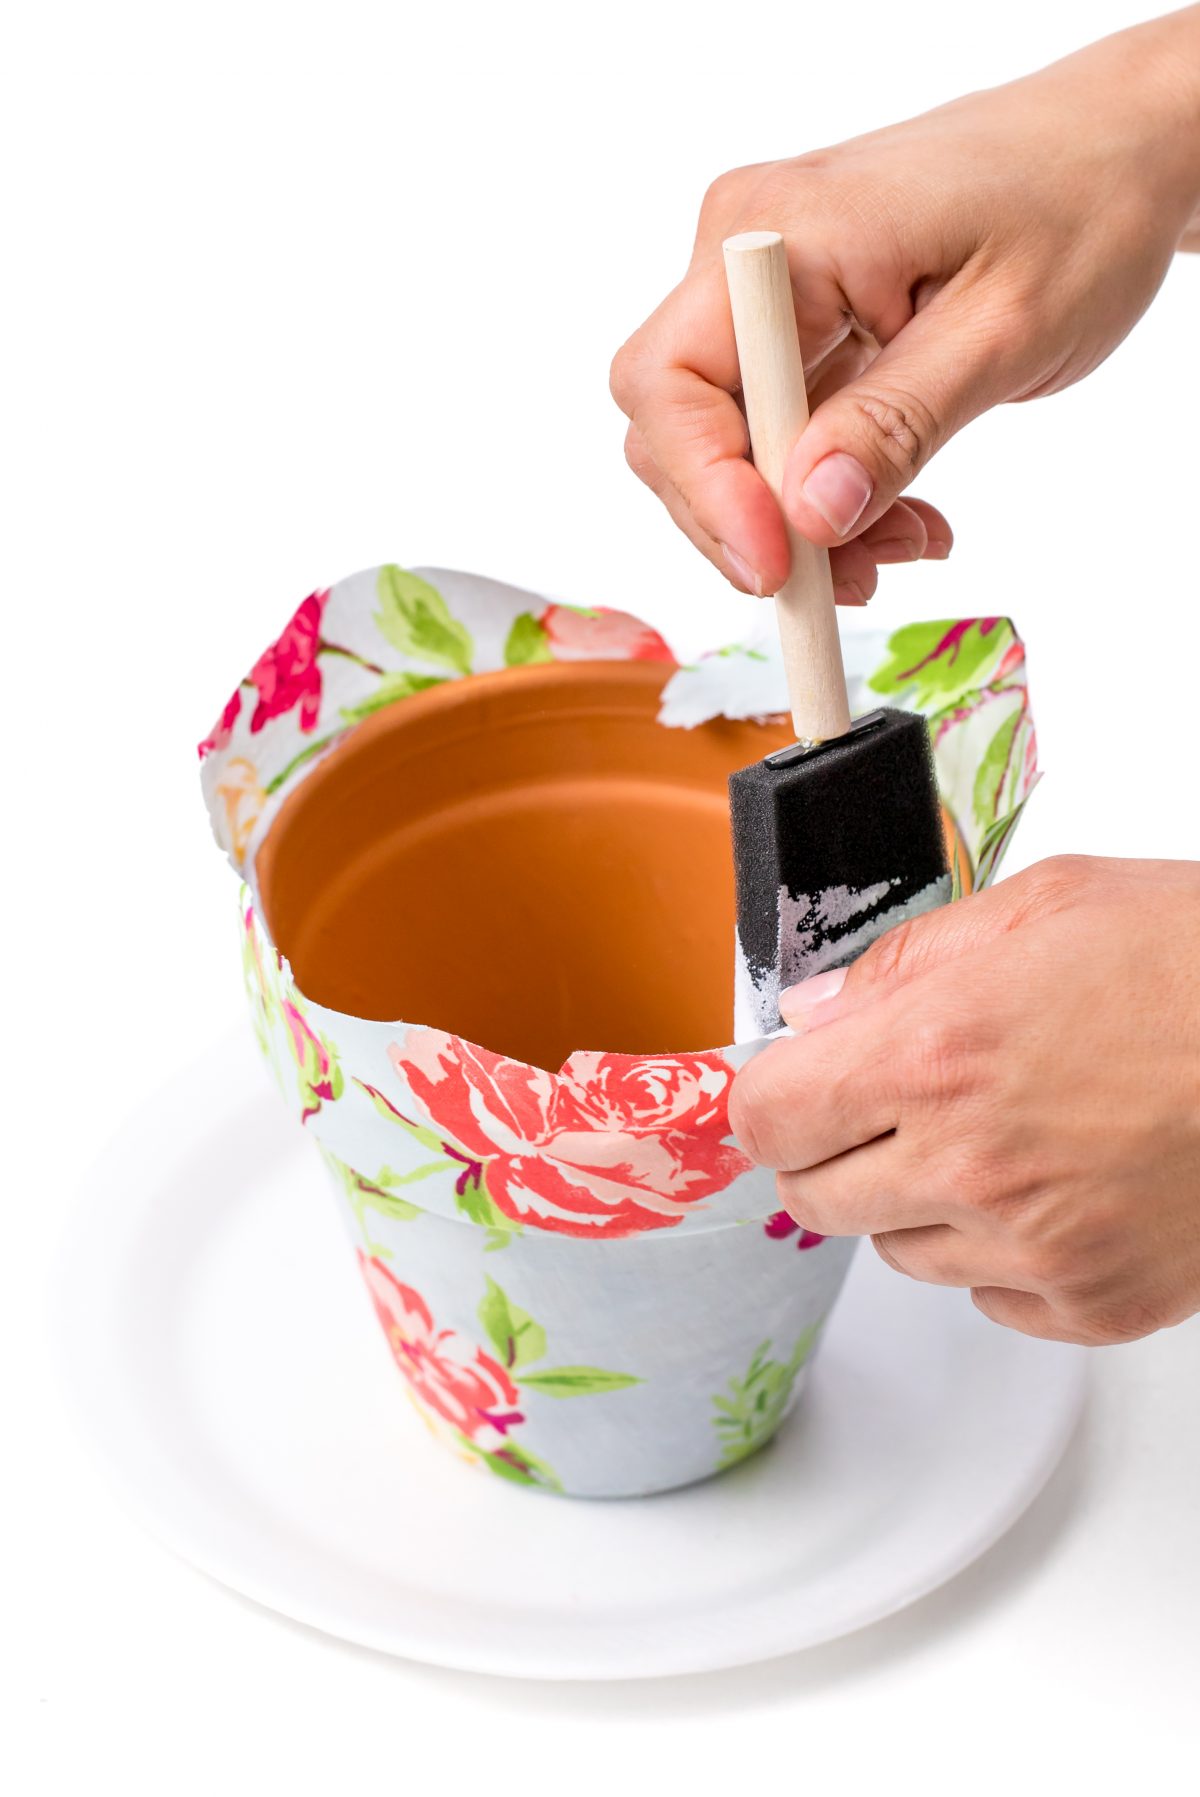
Add mod podge along the top edge of fabric
Firmly press down the fabric to cover the inside edge of the pot
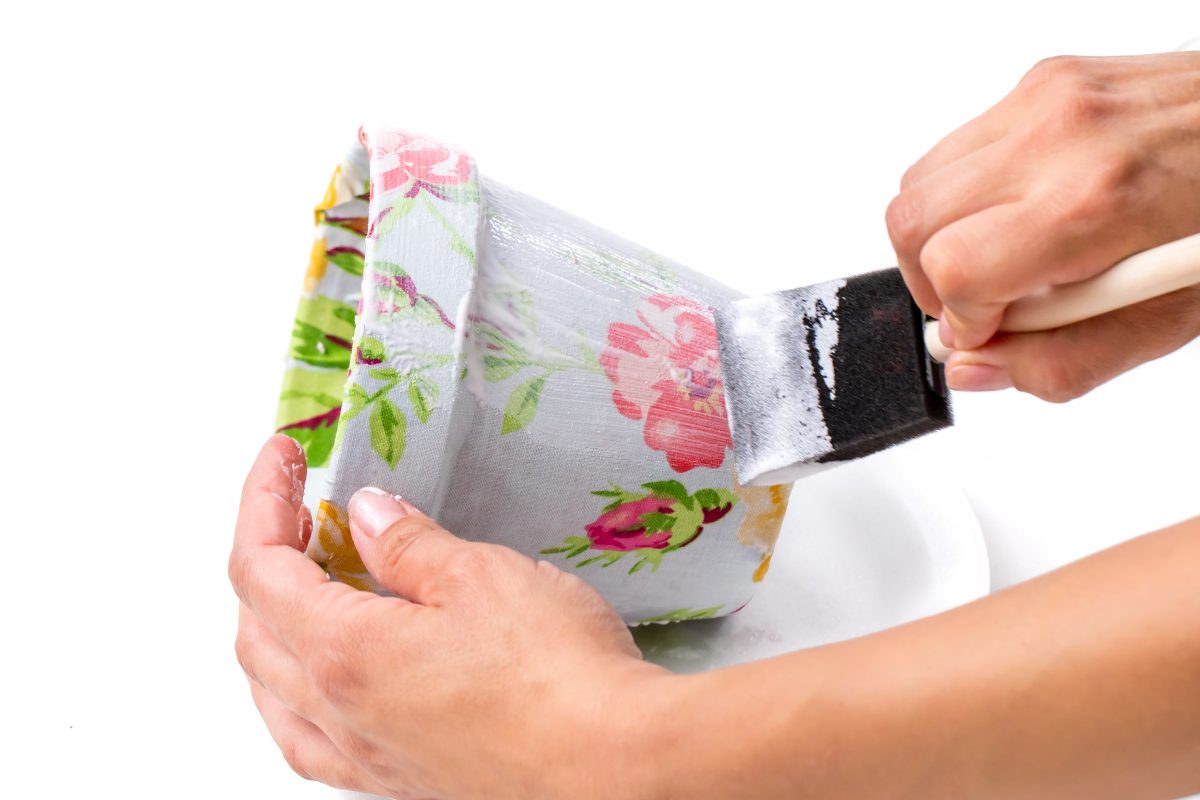
Now, add a last layer of mod podge to the pot

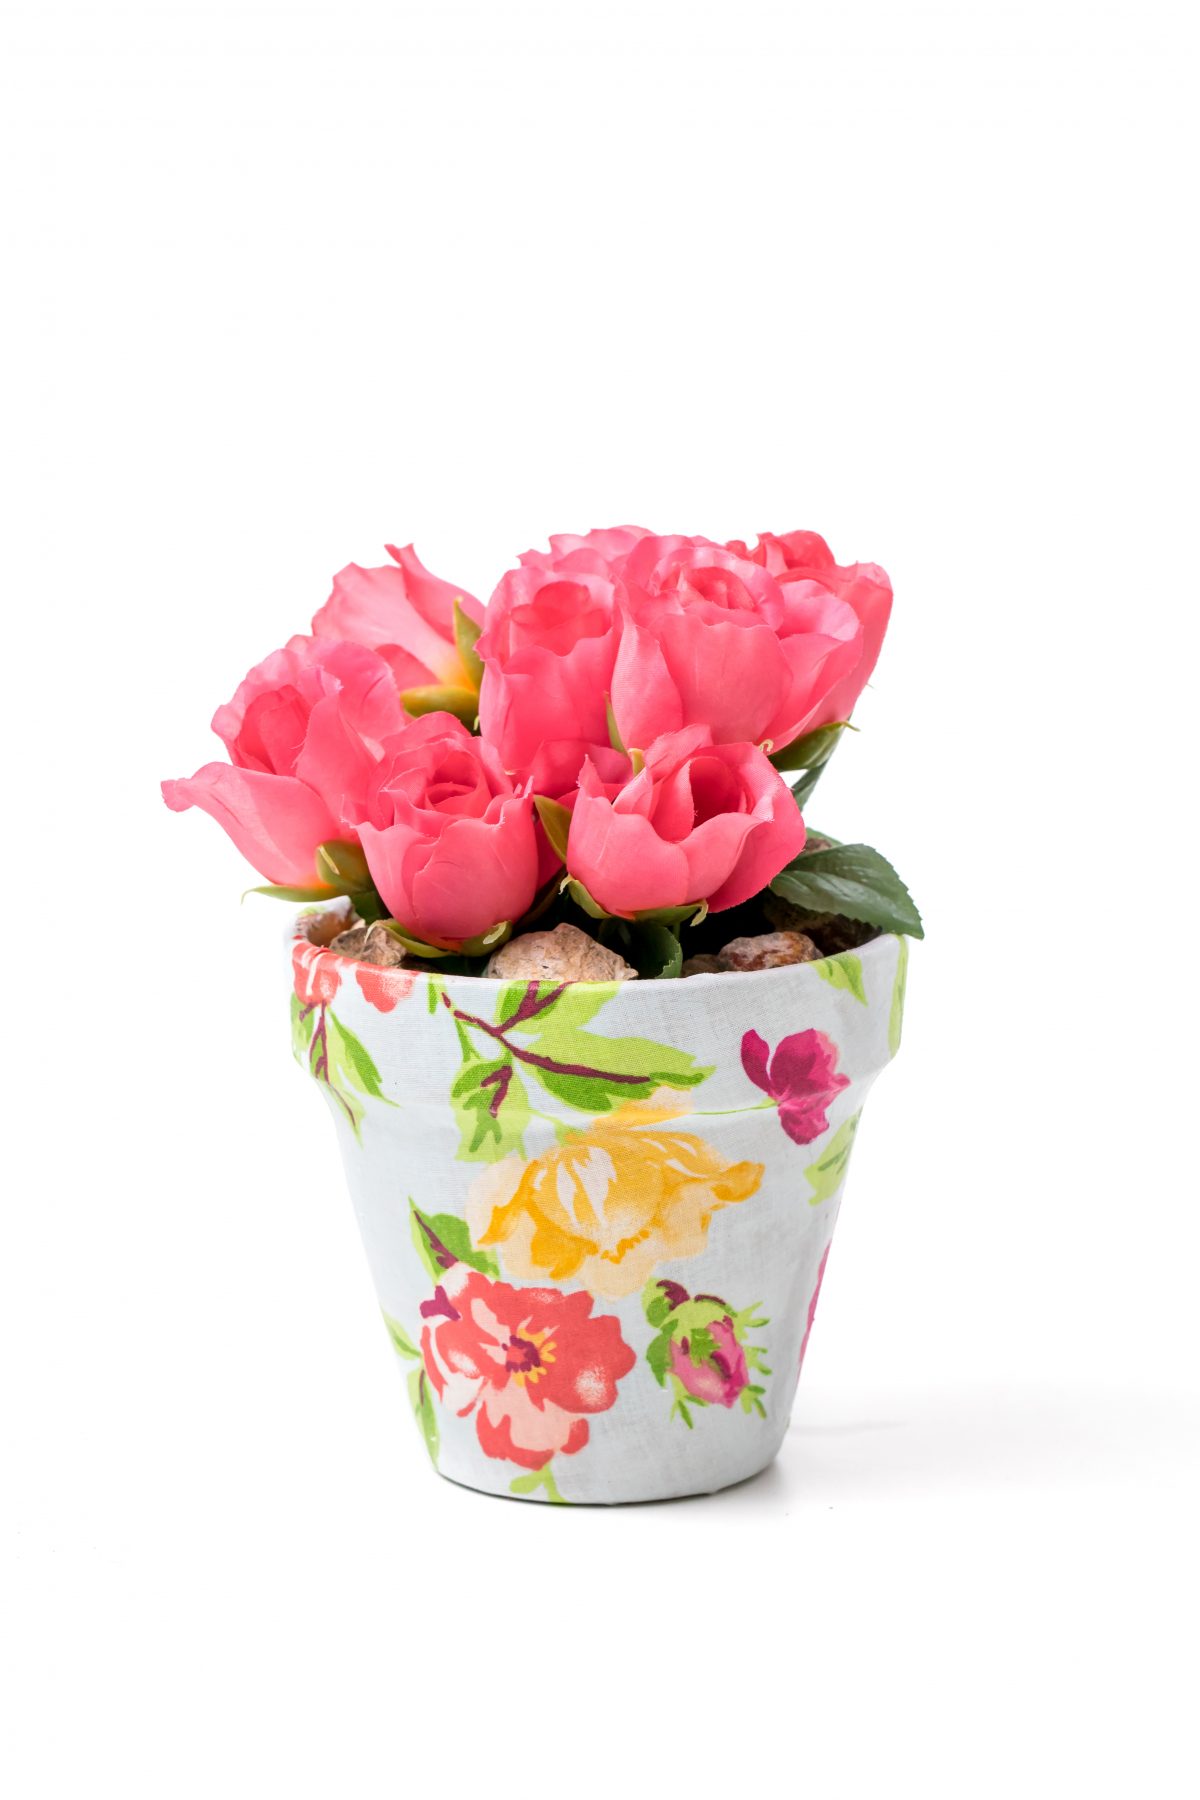
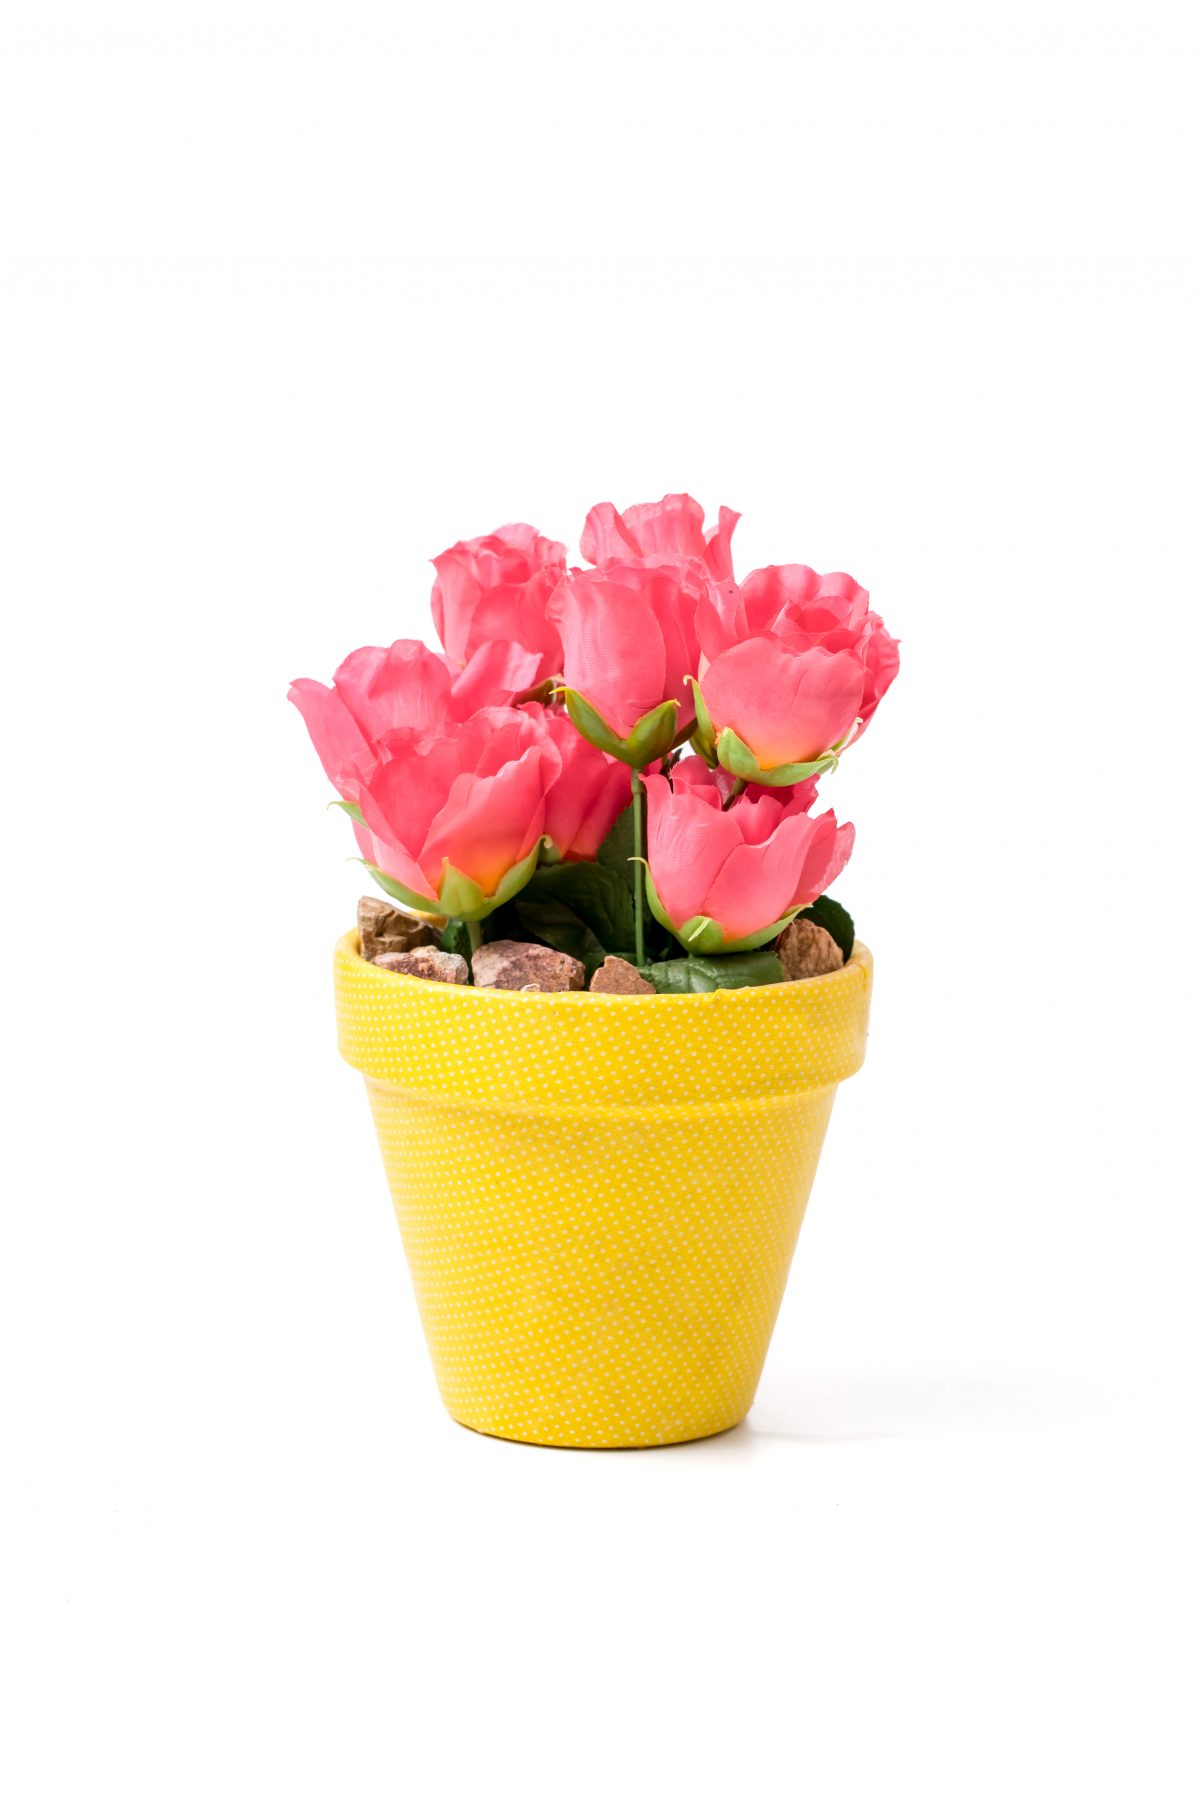
Enjoy your beautiful finished fabric-covered flowerpot!
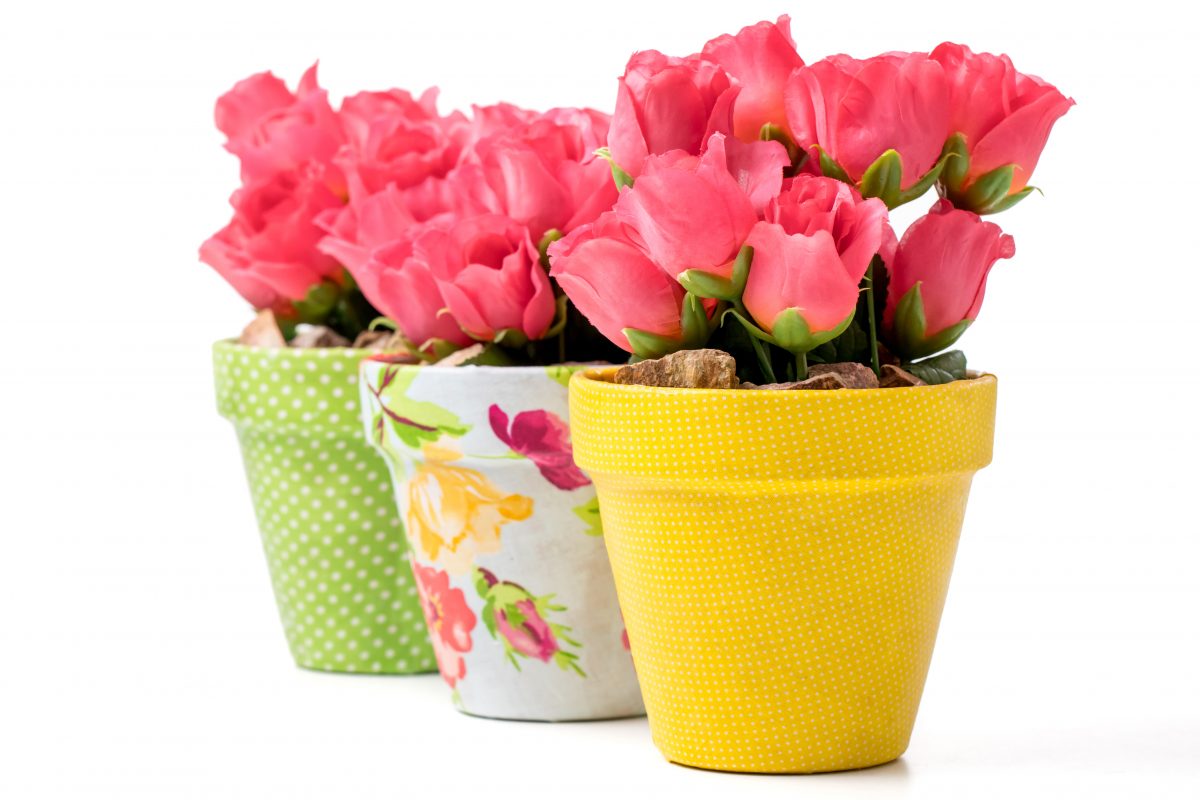
Here’s the crafty flowerpot in a cute yellow fabric
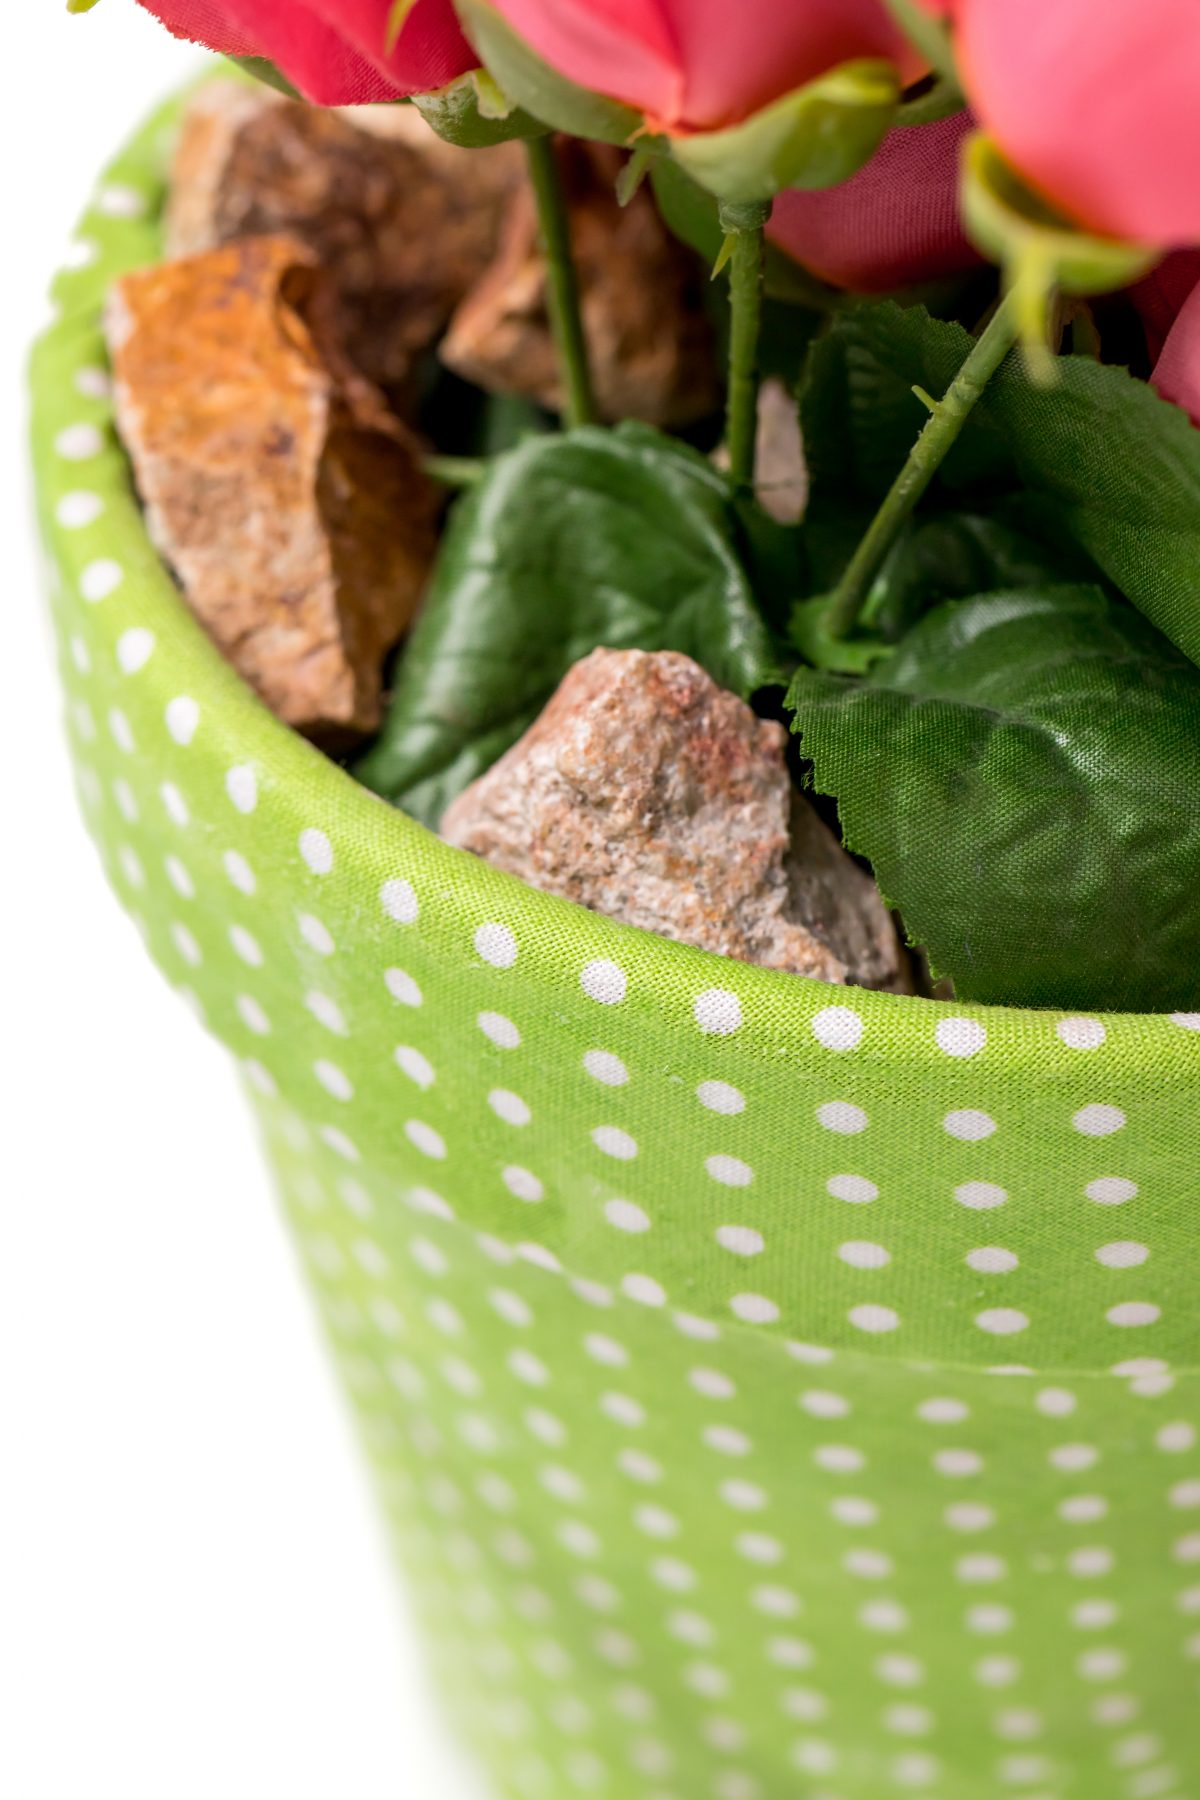
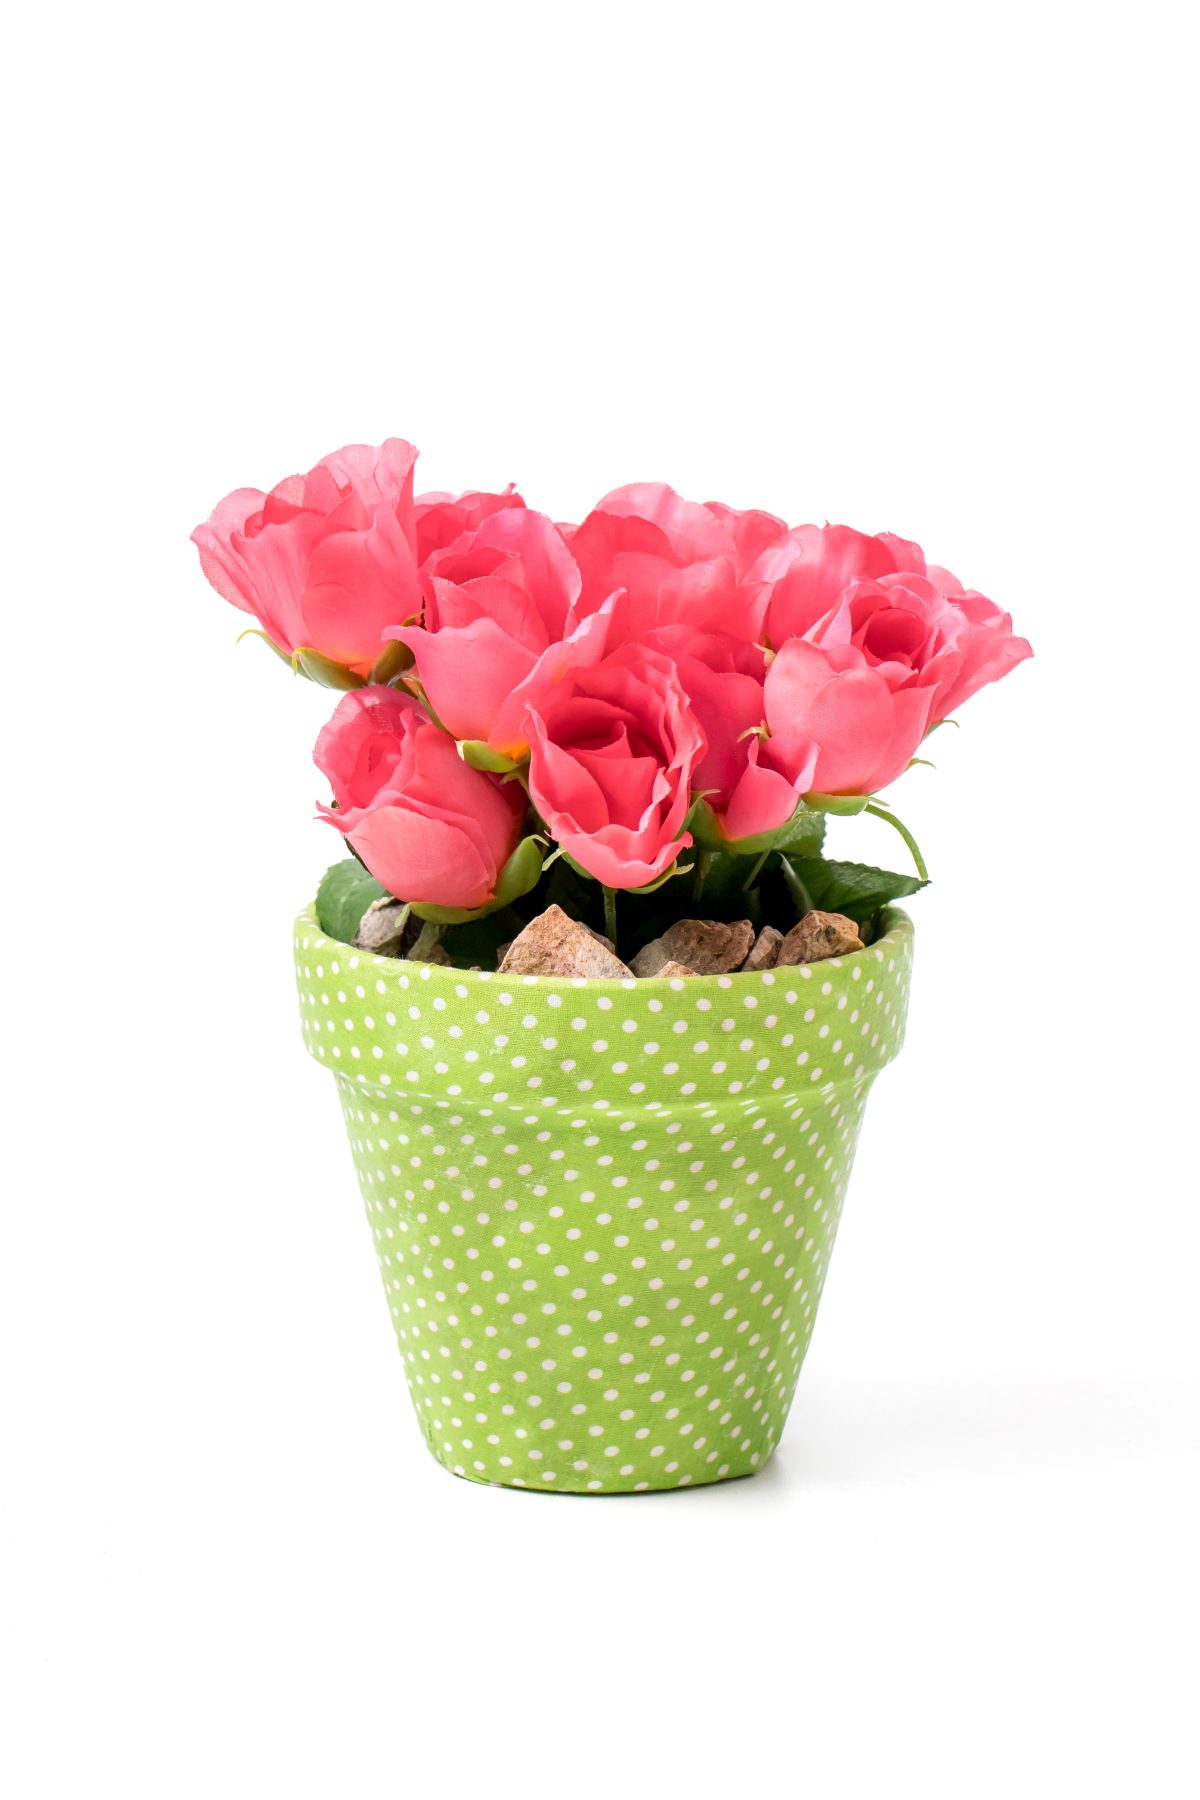
Try a green polka-dot fabric for some fun
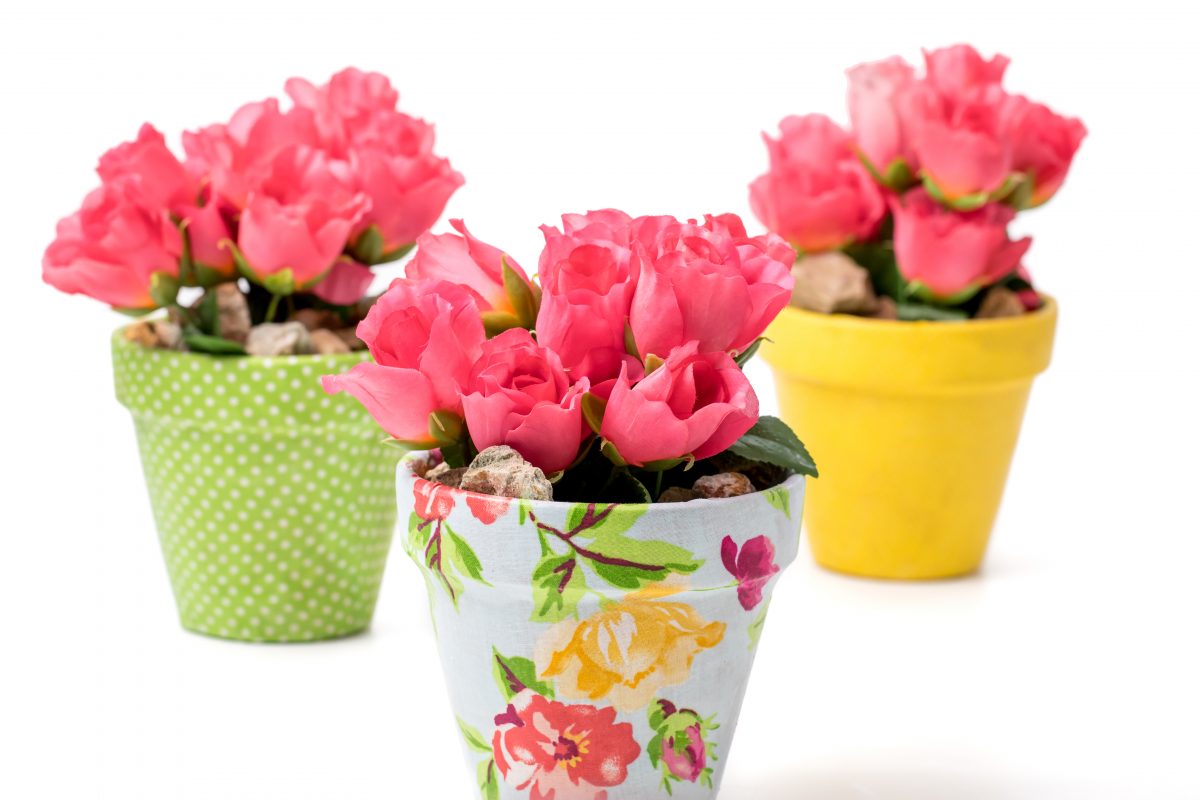
Put them all together, and you have a gorgeous display!

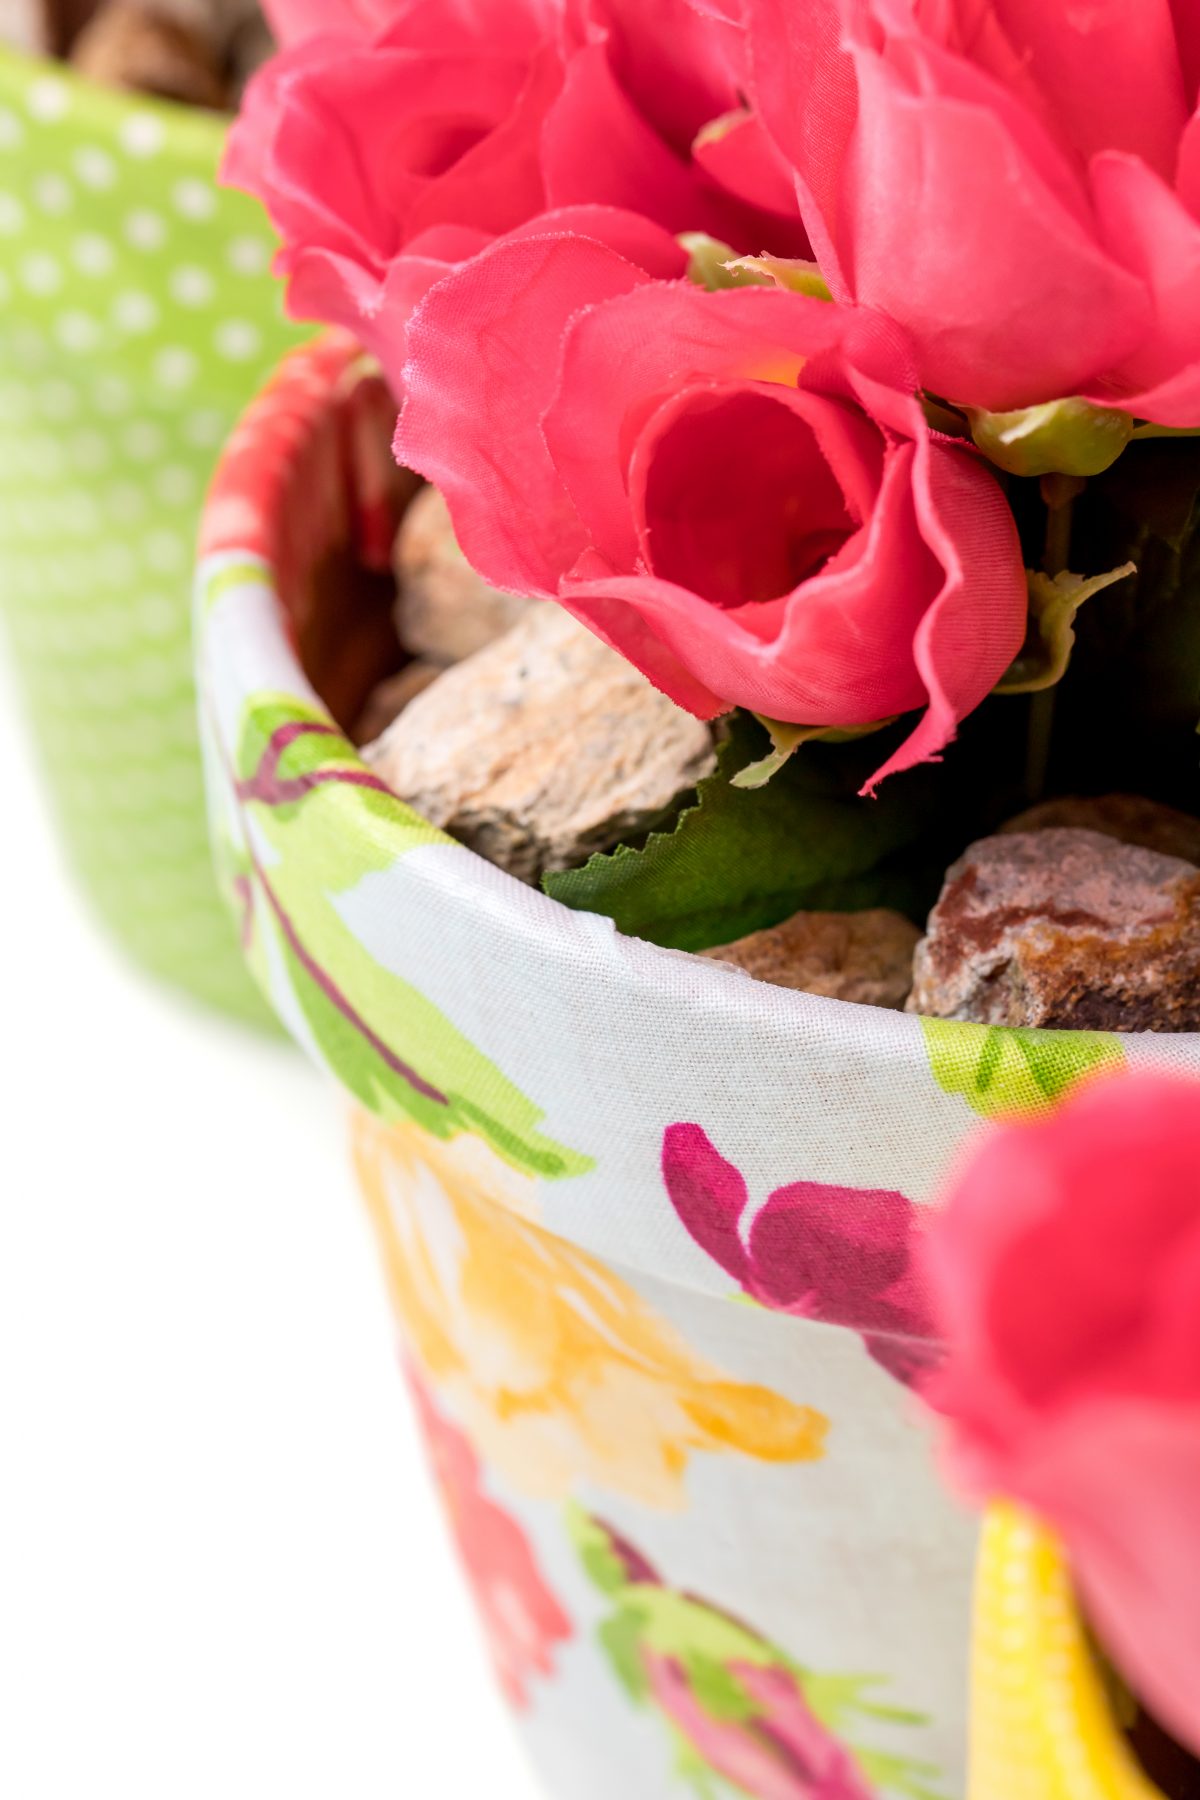
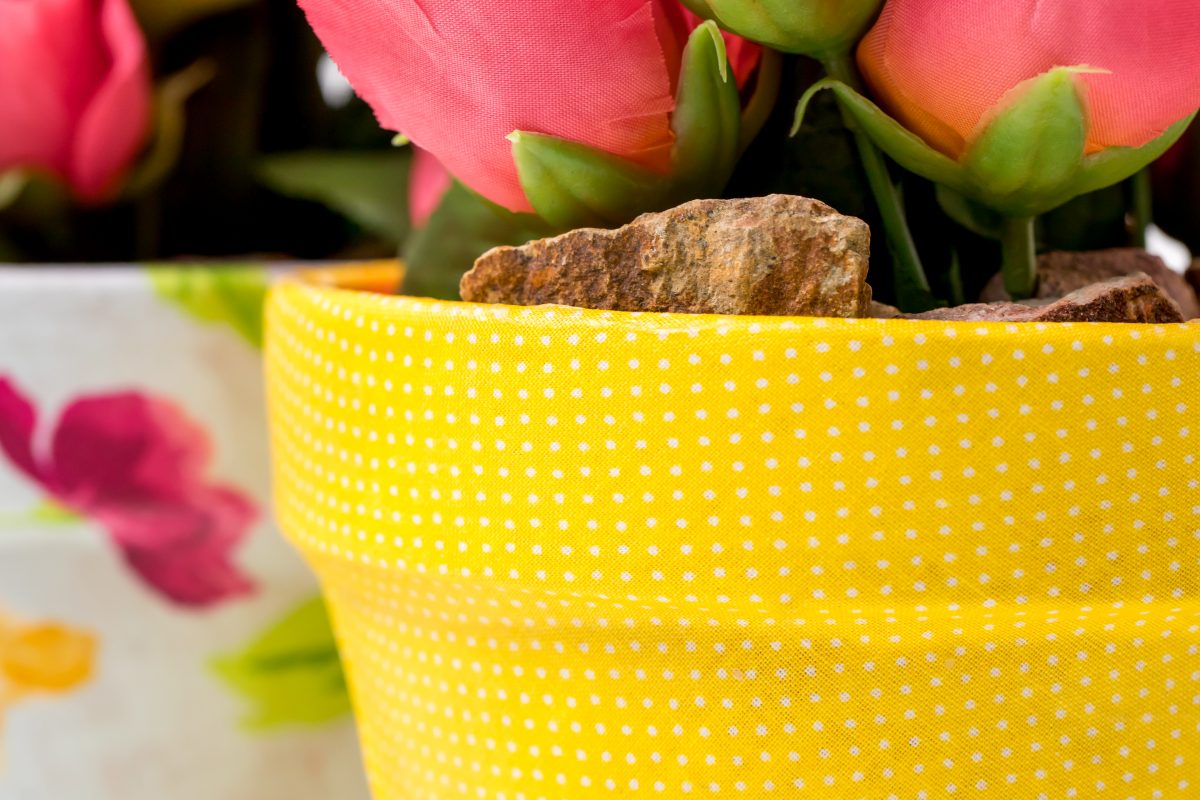
Here’s a closeup of the flowerpot
These fabric-covered pots make a gorgeous gift for friends, family, teachers & neighbors!
How to make these fabric-covered flowerpots
Materials for each pot:
- Terracotta pot
- Fabric
- Trim — ribbon, sequin, lace, buttons, etc.
- Mod Podge
- Styrofoam block
- Artificial flowers
- Foam brush
- Craft paint
Instructions:
- Measure the fabric to the pot, leaving an inch of fabric over both the top and bottom.
- Apply a generous amount of Mod Podge to one side of the pot and begin wrapping the pot with fabric.
- Repeat until you’ve covered the entire pot on all sides.
- Turn the pot upside down and apply Mod Podge to the bottom.
- Press fabric to the bottom of the pot and smooth it out.
- Brush Mod Podge on the top rim and inside the pot.
- Cut two or three slits in the fabric at the top to help it bend neatly around the opening and prevent it from bunching up.
- Apply another layer of Mod Podge around the entire outside of the pot.
Prep the pots
If you’re using real plants, spray the inside and outside of the pot with acrylic sealer to make it waterproof. This will prevent water from leaching through the pot and creating water bubbles in the fabric.
Also, consider painting the pot white before you apply the fabric. This way, the dark color of the terracotta won’t show through if you use a light-colored fabric. Let the paint dry completely before applying the fabric.
Wrap the fabric and trim
You can cut the fabric to wrap around the pot, or you can cut it into strips and glue each vertically around it, overlapping slightly until the pot is completely covered. If you’re using fabrics with different patterns, cutting them into strips is a great way to create an alternating design.
Once the pot is covered, finish it off by adding a little extra pizzazz to the rim. Think sequined ribbon or a touch of lace for a bit of elegance. Or, wrap some twine around the rim and maybe glue a unique button to the center. You might even paint the rim in a color that complements the fabric.
Add the greenery
For a live plant: Before potting, place small rocks at the bottom of the pot to allow water to drain easily. Fill in the gaps with some more potting soil.
For an artificial plant or flowers: Trim the foam or styrofoam block to fit into the pot and use it to hold them in place. When you’re satisfied with your arrangement, fill the pot with rocks or fake moss for the finished look.